How to Clean Floor Rugs: Step-by-Step for Every Rug Type and Mess
If you're searching for how to clean floor rugs without damage, you’re not alone. Rugs collect dust, carry allergens, and can stain quickly, and many people don’t know which cleaning method is safe for which material.
Over time, they can also start to feel grimy, sticky, or even give off unpleasant odors, making you think twice about lying down, letting kids crawl, or doing yoga on them. A dirty rug not only affects the look of a room, it can also make the entire space feel less inviting and less hygienic.
With the right knowledge and a few smart habits, you can keep your rugs fresh, comfortable, and safe for every activity in your home.
This guide explains how to clean rugs based on fabric, gives a clear step-by-step routine, highlights common cleaning mistakes, and recommends tools that help, including top Dreame vacuums.
Know Your Rug: Why Material Matters Before You Clean
Understanding your rug’s material not only helps protect it, but also keeps it comfortable for everyday living. A clean rug means a safer surface for kids to play, pets to nap, and you to relax on without worry.
Wool Rugs – Durable and cozy, but sensitive to heat and water. Use low suction on the vacuum and blot spills with cool water and mild detergent. No steam cleaning or wringing.
Synthetic Rugs – Made of polypropylene or nylon. Easy to clean and ideal for busy homes. Safe for vacuuming, occasional wet cleaning, and light mopping.
Cotton Rugs – Casual and sometimes machine-washable. Check care labels. Use a mesh bag and gentle cycle if doing laundry, and air-dry flat to prevent stretching.
Delicate or Antique Rugs – Silk, vintage, or handmade require gentle handling. Vacuum with low suction, ideally with a nylon screen over the fibers, and leave deeper cleaning to professionals.
Each rug type has its own care requirements, and choosing the right approach will help keep it both beautiful and hygienic for years.
Step-by-Step: How to Clean Floor Rugs Safely at Home
Follow these four essential steps to clean any rug safely:
Shake It Out and Pre-VacuumShake small rugs outside to remove loose dirt. Vacuum both sides of large rugs. Disable the beater bar on high-pile rugs to prevent fiber damage.
Spot-Clean Fresh Stains QuicklyBlot (don’t scrub!) spills with a clean cloth. Use a mix of white vinegar and water for most stains. For oily spots, sprinkle baking soda, let sit for 10 minutes, then blot with mild soap. Always test in an unseen spot first.
Deep Clean Based on Rug Type
Synthetic rugs – Use a wet/dry vacuum with rug shampoo; rinse with cool water.
Wool and cotton – Clean small sections gently with a damp sponge; blot dry.
Natural fiber (jute, sisal) – Never soak. Vacuum often, spot-clean with a damp cloth.
Rinse and Dry ThoroughlyRemove all soap residue, lay rugs flat to dry, and use fans or sunlight to help. Avoid hanging wet rugs because they can warp.
If you’re short on space, check out this guide on whether a robot vacuum is worth it for small homes to see how it can make cleaning easier.
5 Mistakes That Damage Rugs (And How to Avoid Them)
Prevent common cleaning missteps with these smart, easy-to-remember guidelines that protect your rugs and keep them looking their best.
Using Too Much Water – Especially on wool or cotton rugs, excess water can seep deep into the fibers, weakening the structure or causing lingering odors. Think of it like soaking a favorite sweater; it never quite goes back to the same shape. Use only as much moisture as you need and always dry thoroughly.
Scrubbing Instead of Blotting – Scrubbing might feel satisfying in the moment, but it pushes stains deeper and frays delicate fibers. Blot gently, as if you’re coaxing the spill away, not forcing it in.
Ignoring Rug Labels – Care tags are like little instruction manuals sewn into your rug. Following them means fewer surprises, fewer accidents, and a rug that lasts for years.
Using the Wrong Vacuum Attachment – Stiff brushes or too much suction can pull at delicate fibers, especially in high-pile or antique rugs. Think of your rug like fine clothing, it deserves a gentler touch.
Waiting Too Long to Treat Stains – The longer a spill sits, the harder it is to remove. Keeping a small “rug rescue kit” with a cloth, vinegar, and baking soda nearby can save the day (and your rug) when life’s little messes happen.
Choose the Right Cleaning Tools for Your Rug Type
Rug Type
Tools You Need
Best Dreame Model
Why It Works
Wool
Vacuum with soft roller, microfiber cloth
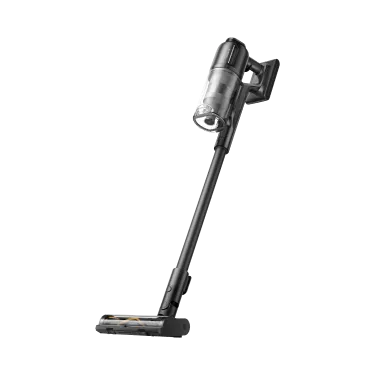
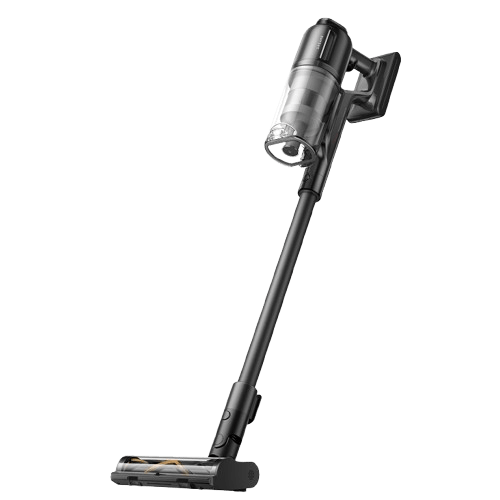
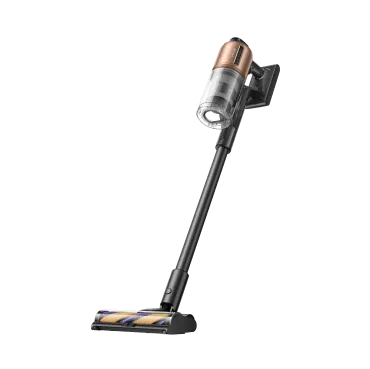
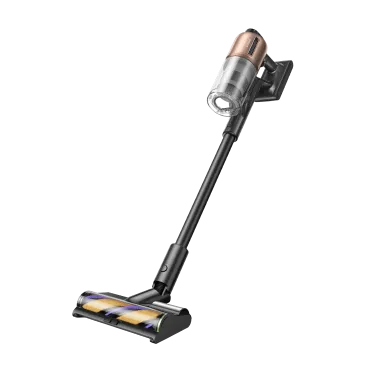
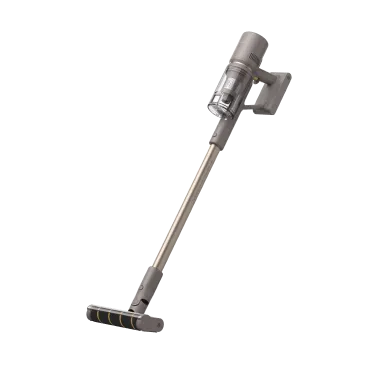
Dreame Z30 Cordless Stick Vacuum
Adjustable suction and a soft roller protect fibers while removing embedded dust and debris.
Synthetic
Multi-surface vacuum, gentle cleaning pads
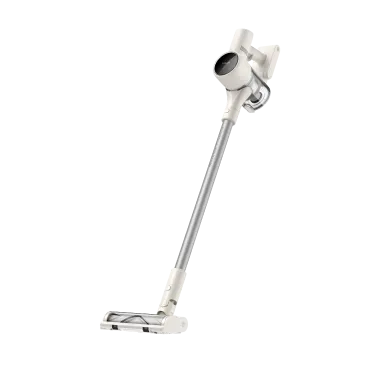
Dreame R10 Pure
Lightweight, powerful, and safe for regular vacuuming plus light wet cleaning.
Cotton
Vacuum with mop function, absorbent towels
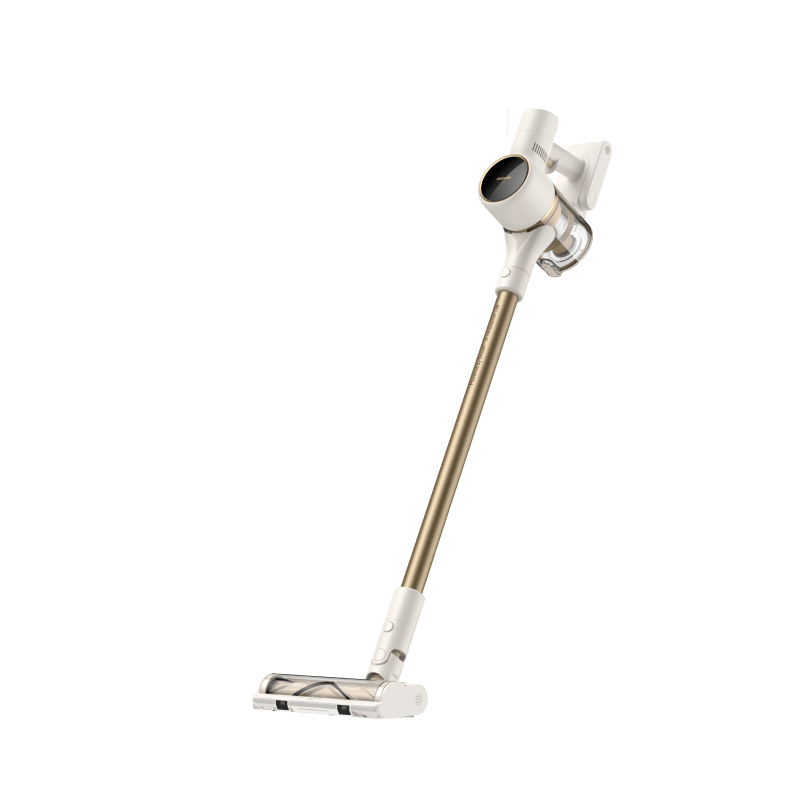
Dreame H14 Pro Wet & Dry Vacuum
Combines vacuuming and gentle mopping without oversaturating, preserving the rug’s structure.
Natural Fiber
Vacuum with handheld nozzle, soft dust brush
Dreame L50 Ultra Robot Vacuum
Cleans debris from open weaves while avoiding moisture that can damage natural fibers.
Delicate/Antique
Low-suction vacuum, protective mesh cover
Dreame L40s Ultra Robot Vacuum
Gentle navigation and adjustable suction protect fragile rugs between professional cleanings.
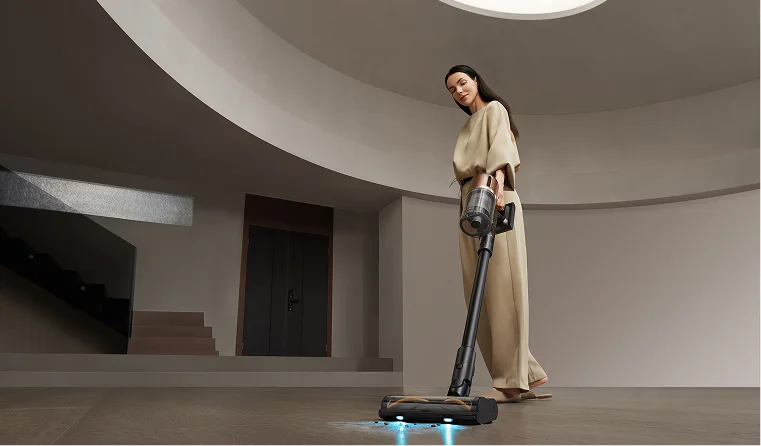
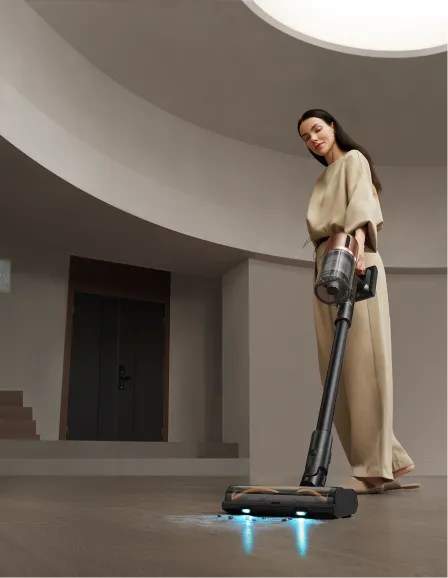
Plus, Dreame’s cordless vacuums like the Z30 and R10 Pure include LED lights for hidden dust, while the H15 ProHeat wet/dry model gives you heated and soap-assisted cleaning when needed.
Need ideas for choosing the right cleaner? Read our guide to effective carpet cleaning solutions for 2025.
Maintenance Tips to Keep Floor Rugs Fresh Longer
Vacuum high-traffic rugs 2–3 times weekly. Areas like the living room or hallway see the most action, so giving them a quick once-over keeps dirt from embedding deep in the fibers. A few minutes of upkeep now saves hours of scrubbing later.
Set your robot vacuum on a daily schedule to prevent dust buildup. It’s like having a quiet little helper working in the background while you enjoy your morning coffee or help the kids with homework. By the time you look down, the floor’s already clean.
Blot stains immediately with vinegar and water. The faster you act, the less chance that spilled juice or coffee will become a permanent reminder. Keep a small “spill kit” in the kitchen so you’re always ready for accidents.
Wash washable HEPA filters regularly to keep suction strong. Think of it as giving your vacuum a deep breath of fresh air. It’ll work harder for you when it’s clean. Research shows that simply walking on a rug can release fine particles into the air, potentially impacting respiratory health, which is why regular cleaning with a HEPA-filter vacuum is so important.
Rotate rugs every few months to even out wear. Sunlight, pets, and foot traffic can leave one side looking tired. A simple turn helps your rug age gracefully and stay vibrant for years, just like rearranging the furniture can refresh a whole room.
Looking for quick carpet-care ideas? Try our blog post, Show Your Carpets Some Love with These Cleaning Hacks.
FAQs: Cleaning Rugs Without Damage
How often should I vacuum floor rugs?
Twice a week works for most, but high-traffic or pet-friendly homes may need daily-robot use.
Are robot vacuums good for rugs?
Yes. Models like the L50 Ultra and L40s Ultra adapt suction and transition from hard floors to rugs effectively. Learn more in our article Can Robot Vacuum Clean Carpets?.
Which Dreame vacuum is best for rug cleaning?
For manual deep cleaning, try the Z30. For automatic upkeep, use the L50 Ultra, and for tough stain cleanup, go with the H15 ProHeat.
Can I machine-wash my rug?
If the tag indicates machine-washable, go ahead, use cold water and air-dry flat. But avoid washing wool, silk, or antique rugs.
Conclusion: Rug Cleaning Doesn’t Have to Be a Chore
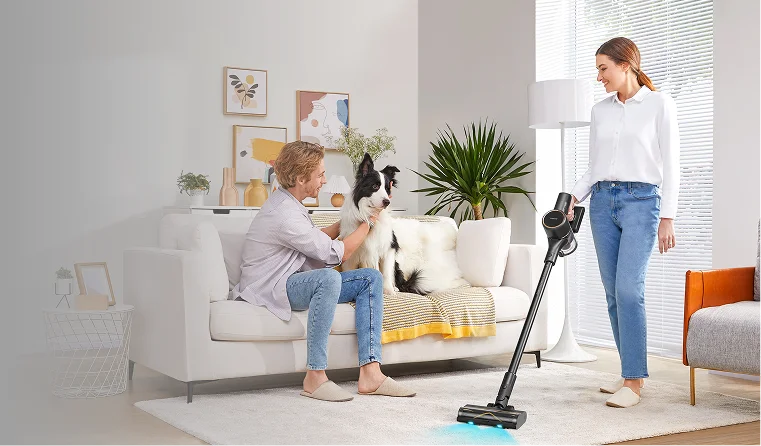
A clean rug is more than just a style choice; it’s the foundation for a healthy, comfortable home. It’s where your baby takes those first wobbly crawls, where your kids sprawl out with popcorn for movie night, and where you roll out a yoga mat to unwind after a long day. When your rugs are fresh and well cared for, every moment spent on them feels better.
With the right Dreame vacuum, you can keep your rugs soft, spotless, and allergen-free without sacrificing hours of your time. These tools quietly handle dust, crumbs, and pet hair, leaving you with floors that are safe and inviting for every barefoot step.
Make rug cleaning part of the comfort, not the chore. Explore the Dreame robot vacuum collection and find the one that fits your home, your lifestyle, and all the memories made right on the living room floor.
Master the Art of Floor Care
How to clean hardwood floors
How to clean wood floors
How to Clean and Mop Tile Floors
How to Clean Laminate Floors
How to Clean Marble Floors
How to Clean Grout on Tile Floor
How to Clean Linoleum Floors
Choosing Floor Cleaning Solution










 Robot Lawn Mower


 Australia
 中国大陆
中国大陆 日本
日本


 Türkiye


 Italia
 Netherlands
 Belgium
 Greece
 Polska
 Norway
 Sweden
 Finland
 Denmark
 Hungary
 Czechia
 Slovenia
 Croatia
 Switzerland
 United Kingdom
 Belarus
 Georgia
 Canada


