Home Cleaning Tips
A weeknight sprint to get dinner on the table, a swirl of little feet and paws, and—whoops—tomato sauce on the boards. If you've ever reached for something "strong" and then worried about fumes, this guide is for you.
Below, you'll learn how to clean hardwood floors naturally using pantry-safe ingredients. These brilliant routines protect your finish, fit busy lives, and keep costs down, all while using items you likely already have in your kitchen. No need to rush to the store for expensive cleaners-just grab your vinegar, baking soda, and oils, and you're ready to go.
Why Choose Natural Cleaning for Hardwood Floors?
Natural methods are a sanctuary for your hardwood floors, steering you away from volatile organic compounds (VOCs) commonly found in harsh cleaners. According to the EPA guidance on indoor air quality, indoor VOCs can irritate eyes and skin and may trigger asthma. By choosing natural cleaning, you're not just creating a safer environment for your family but also gaining confidence in the safety of your cleaning methods.
They're also wallet-friendly. A gallon (3.8 L) of white vinegar and a small box of baking soda cost only a few dollars and last months. Compared with $10+ specialty cleaners used weekly, simple DIY mixes can save hundreds per year—without sacrificing results when used correctly on sealed hardwood. By choosing natural cleaning, you're not only protecting your floors but also your wallet.
Essential Materials and Tools for Natural Cleaning
Gathering a few basics up front keeps natural cleaning fast and consistent:
Ingredients
White vinegar (acetic acid) loosens mineral films and everyday grime when properly diluted.
Baking soda provides mild abrasion for spot-treating scuffs.
Olive oil (very sparingly) helps revive sheen when buffed thoroughly.
Lemon juice adds a fresh scent; use diluted for sticky spots.
Essential oils (optional), such as tea tree or lavender, can be used for scent only, as some demonstrate antimicrobial activity, but they're not EPA-registered disinfectants. For disinfection needs, use an EPA-registered product as directed.
Tools
Microfiber mop (gentle on finishes).
Soft, lint-free cloths for drying and buffing.
Spray bottle for controlled application.
Vacuum with a hardwood attachment to capture grit without scratching.
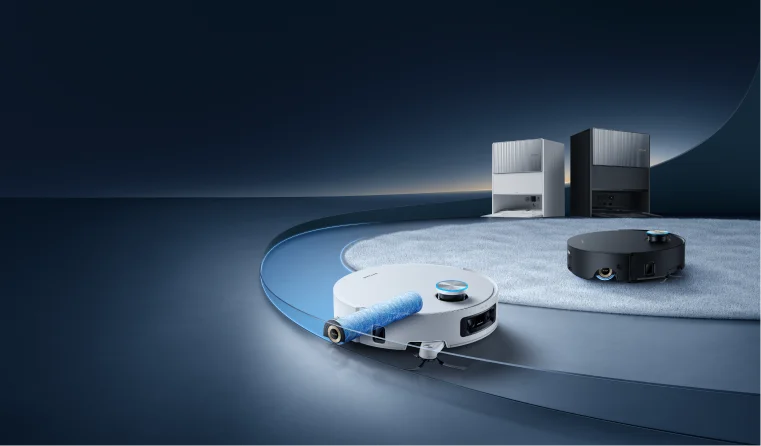
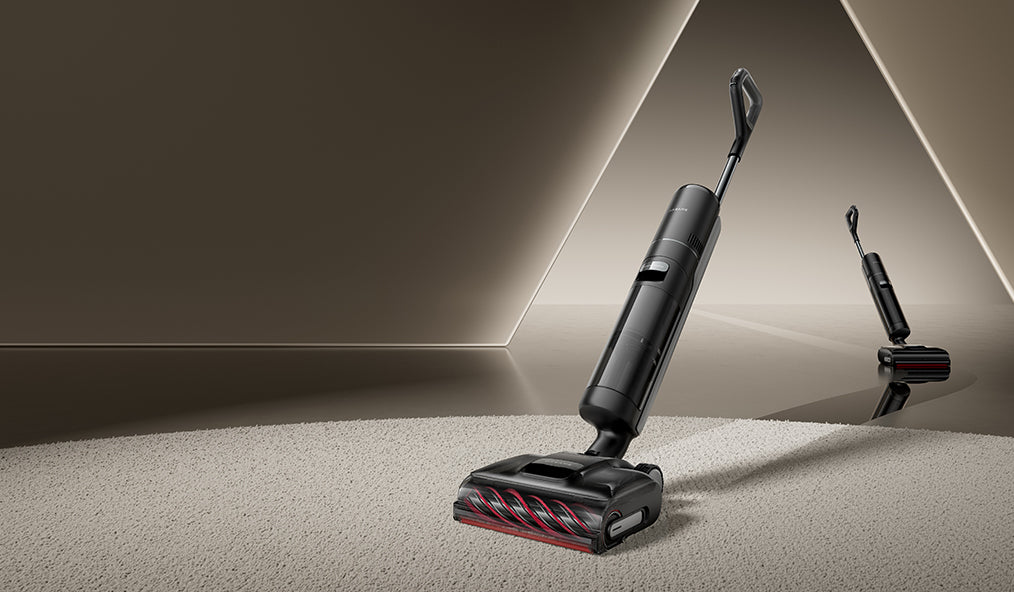
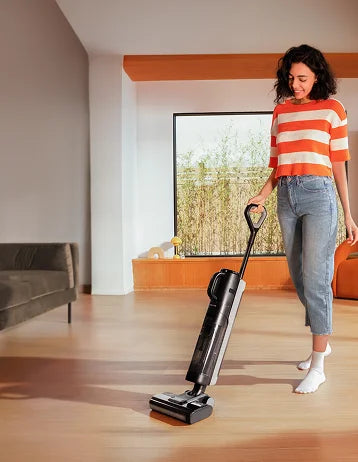
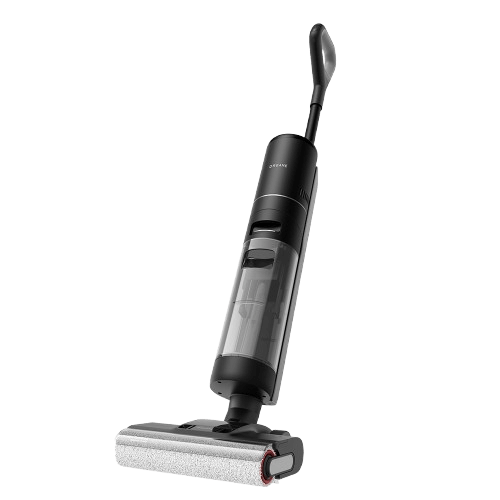
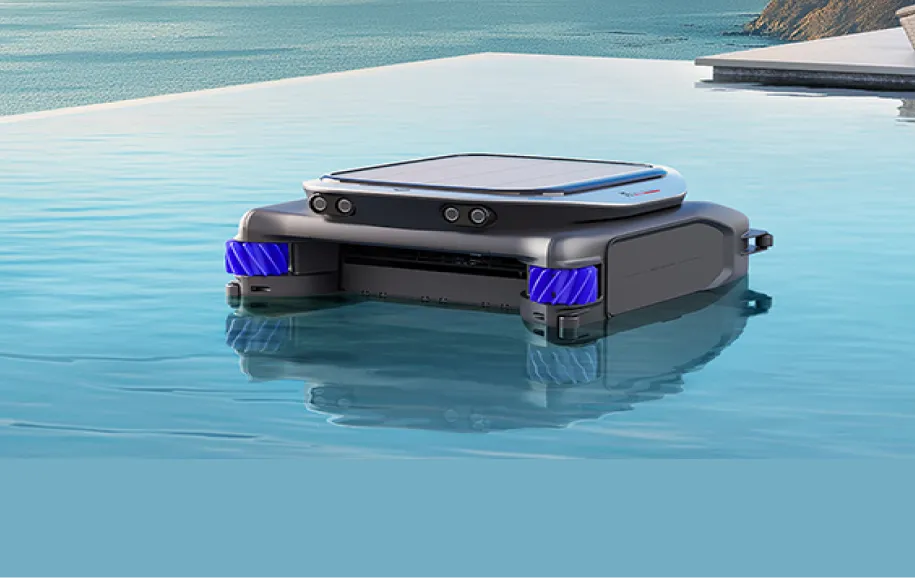
Optional: a robot vacuum to handle daily dust automatically (more on that below).
Methods for Cleaning Hardwood Floors Naturally
These proven, low-tox methods keep hardwood sparkling and safe—perfect for busy families and pet owners.
Preparing Your Floors for Cleaning
Preparation prevents scratches and streaks. First, sweep or vacuum grit with a hardwood-safe head. Move light furniture (or use felt pads) to protect contact points. Check for pebbles or sand near entries so you don't grind them into the finish while mopping.
Important Always spot-test solutions in an inconspicuous area—especially on unsealed or waxed floors—to confirm no dulling or discoloration. This step is crucial to prevent any potential damage to your floors.
Routine Daily Cleaning
For tidy floors with minimal effort:
In a bucket, mix warm water with a few drops of mild, eco-friendly dish soap.
Damp-mop (not wet) with a microfiber head, following the wood grain. Wring well to avoid standing water.
Dry immediately with a soft cloth to prevent spots.
Pro-tip Treat cleaning as a ladder: daily dust, weekly light mop, then periodic deep clean and polish. A robot vacuum can automate the first rung so you stay ahead of dust and grit without lifting a finger.
Deep Cleaning with a Vinegar Solution
The vinegar method is best for dull traffic lanes, light kitchen grease film, salty footprints, or mineral residue after wet weather.
Mix ½ cup (≈120 mL) white vinegar with 1 gallon (3.8 L) water. Prepare the mixture in a large container and transfer it to a spray bottle for control.
Lightly mist a small section and mop with a microfiber head.
Buff dry immediately with a clean cloth.
Important Vinegar has some antibacterial properties, but due to its high acidity, it is recommended only for use on sealed hardwood floors.
Removing Tough Stains Naturally
Scuffs: Make a paste of baking soda and water, apply gently with a soft cloth, then wipe clean and dry.
Sticky residues (juice, gum): Dab with diluted lemon juice, let sit briefly, then lift and wipe clean.
Always test first and avoid abrasive pads—your goal is to preserve, not thin, the finish.
Pro-tip For heel scuffs, a clean tennis ball buffed in small circles can lift marks without abrasion. Always test first.
Polishing for a Natural Shine
Monthly—or when floors look dull—refresh luster:
Mix equal parts olive oil and white vinegar (e.g., ¼ cup / 60 mL each).
Apply sparingly with a soft cloth along the grain.
Buff thoroughly to remove excess and prevent slipperiness.
Focus on high-traffic lanes; less is more to avoid buildup.
Want more fundamentals? See our detailed companion guide, How to Clean Hardwood Floors, for step-by-step basics and finish-specific tips.
How Often to Clean Your Hardwood Floor Naturally?
Daily: Sweep or vacuum to remove dust and grit that can scratch over time.
Weekly: Do a light damp-mop with warm water and a drop of mild soap.
Every 1–2 weeks: Deep clean with the diluted vinegar solution on sealed floors.
Every 1–2 months: Polish sparingly to restore sheen (or sooner in high-traffic homes with kids, pets, or frequent entertaining).
Seasonality matters: increase dry dusting during pollen season, and in winter, track less moisture inside and run a humidifier to reduce gaps. Always consult your floor manufacturer's care guide and adjust cadence to your finish type (polyurethane, oil, or wax). When in doubt, start gentler and ramp up only as needed.
Advanced Tips for Hardwood Floor Cleaning
Different homes and finishes call for minor tweaks. Use these variations to stay safe and effective.
For different floor types
Sealed hardwood tolerates well-diluted solutions and careful damp-mopping. Unfinished or oil-finished planks require drier methods—such as vacuuming and targeted spot-cleans—because liquids can soak in. Engineered wood has a hardwood veneer; treat it like sealed hardwood, but keep moisture extra light at seams.
Pet-friendly options
For pet owners, you can add a drop or two of pet-safe essential oil (e.g., lavender) for scent only—then dry thoroughly so paws don't slip. However, it's important to note that essential oils, even when diluted, can leave a residue on your floors. A pet parent dealing with fur tumbleweeds can pair daily robot vacuuming with weekly damp-mops to keep odors and debris in check.
Seasonal adjustments
In winter, use less water and run a humidifier (35–55% RH) to prevent shrinkage. In summer/pollen season, dust more frequently and rinse mop heads often to avoid spreading allergens.
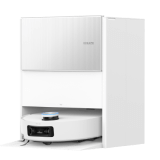
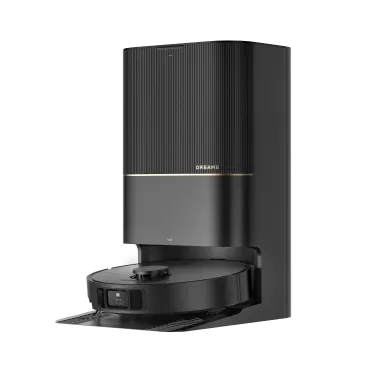
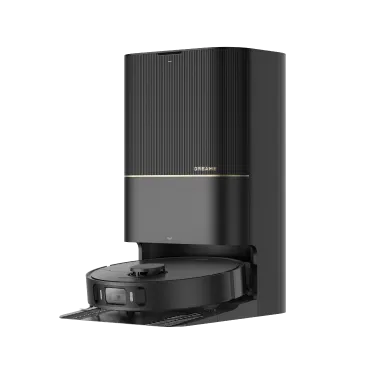
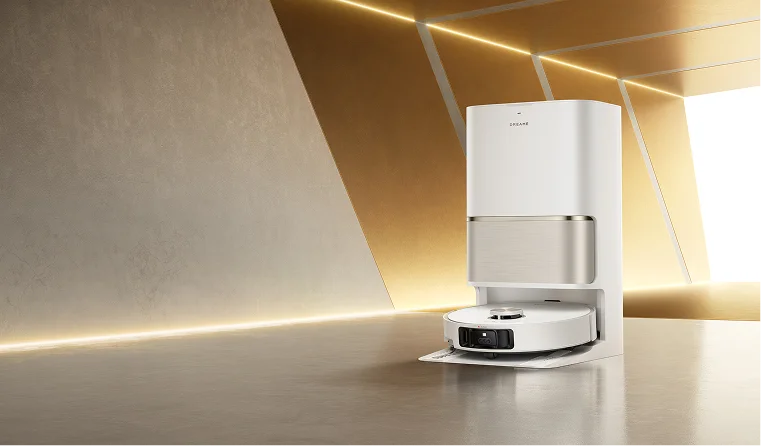
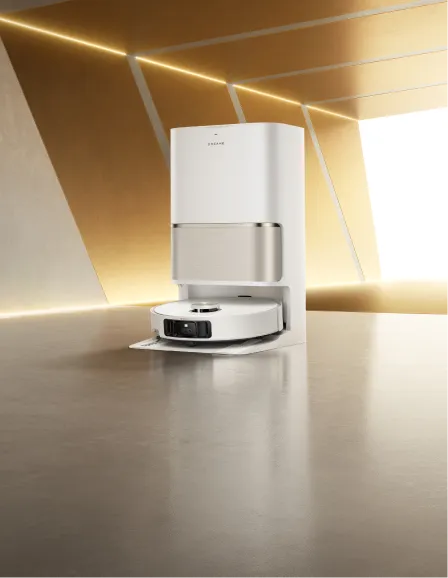
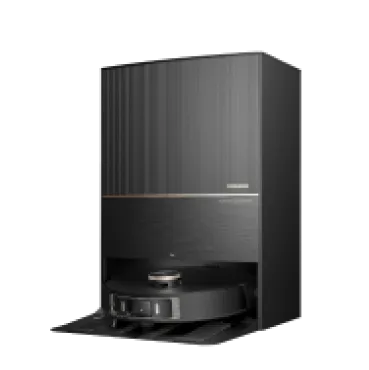
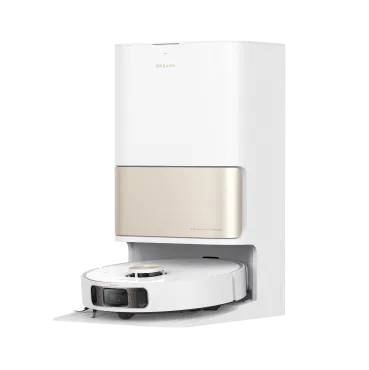
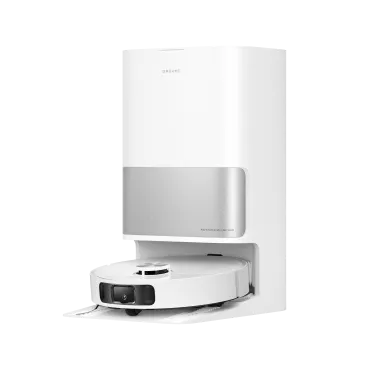
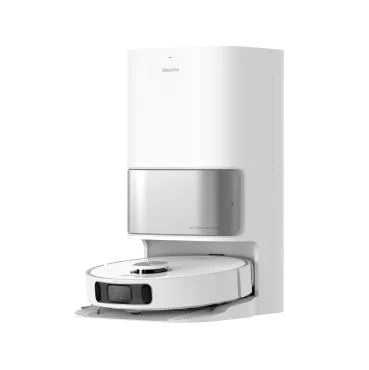
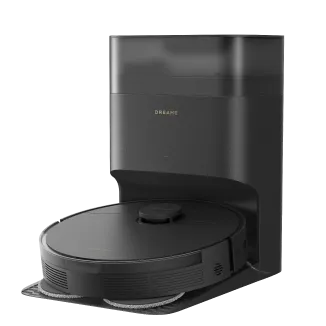
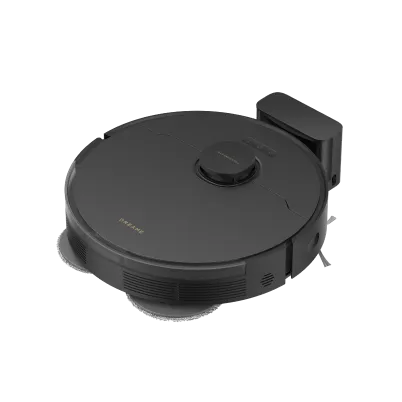
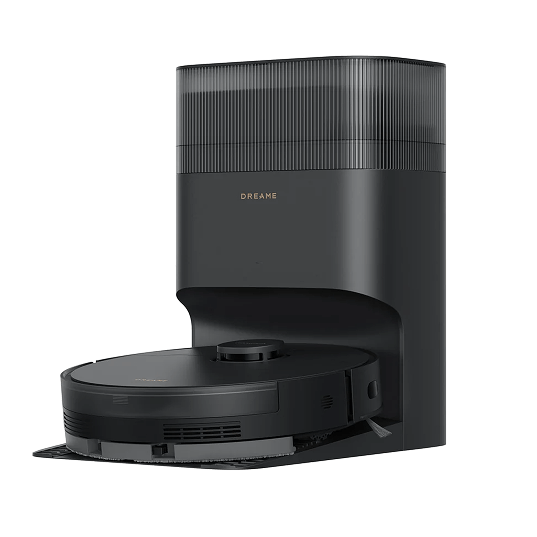
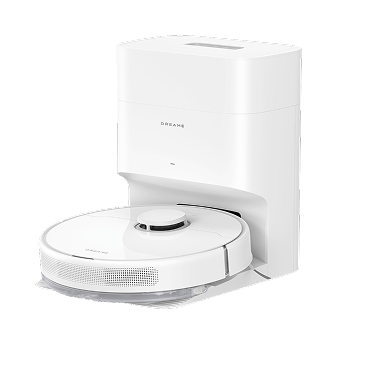
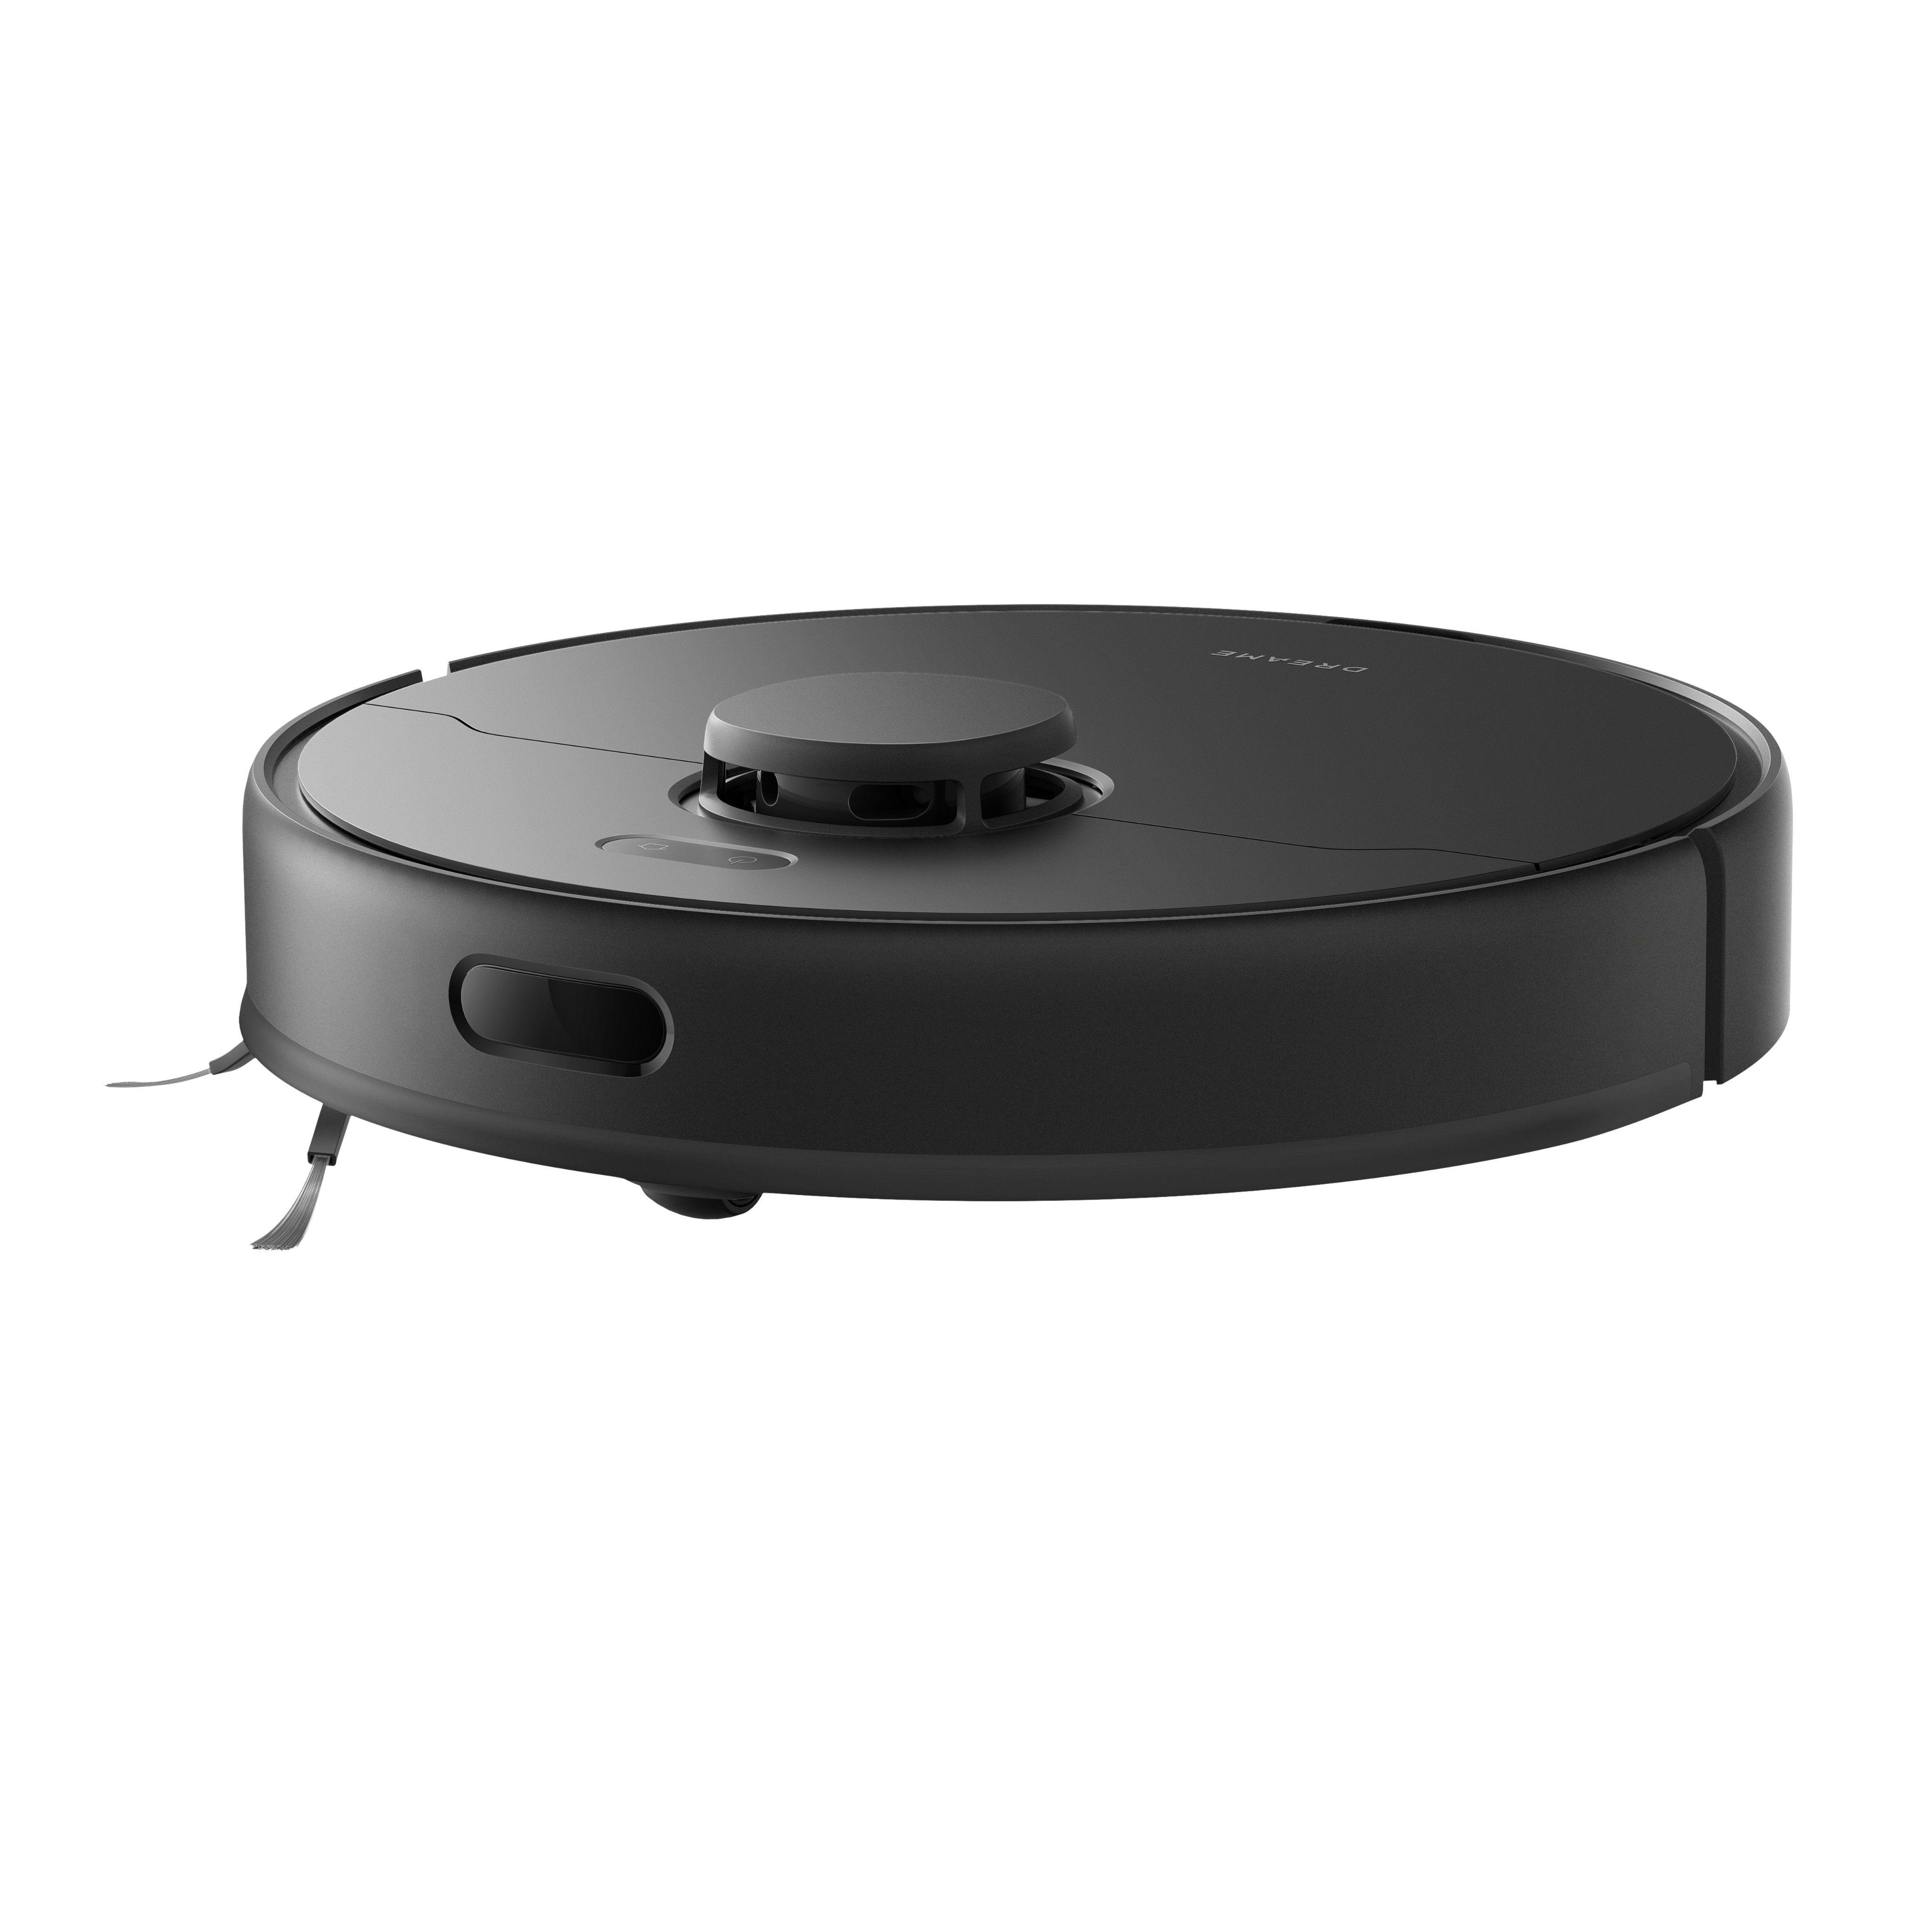
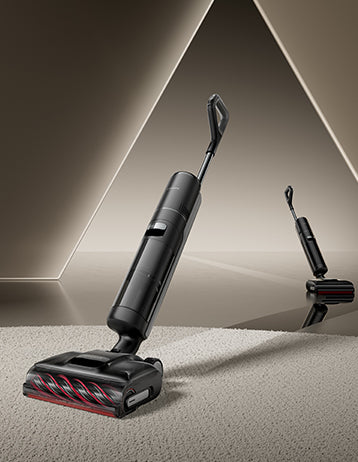
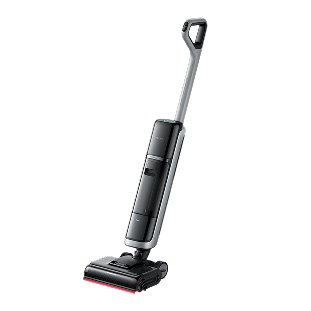
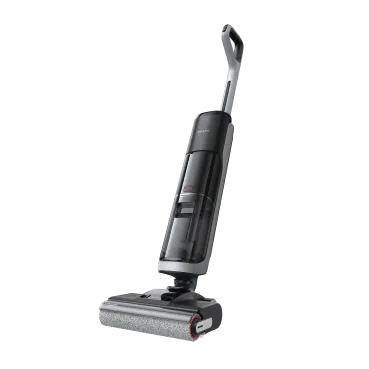
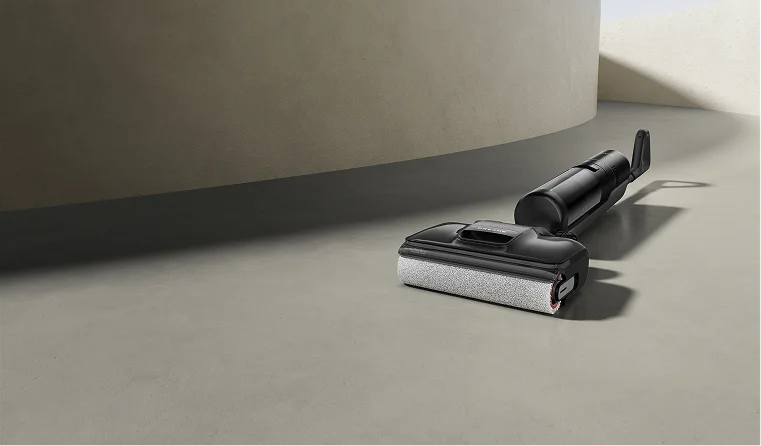
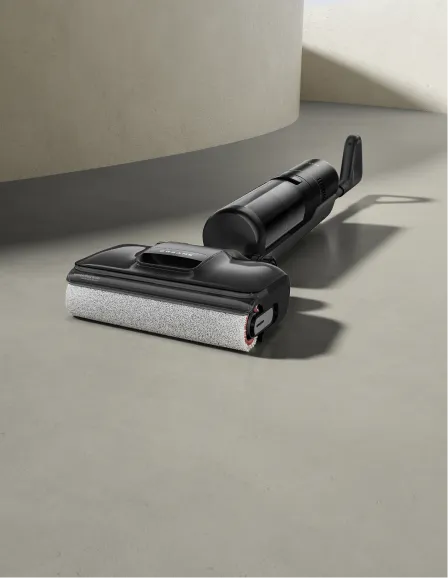
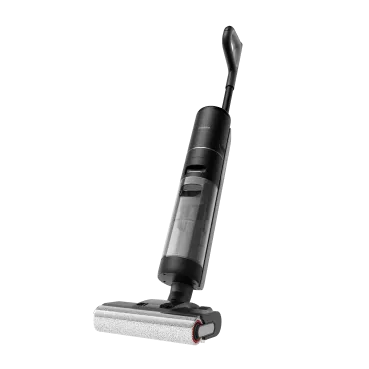
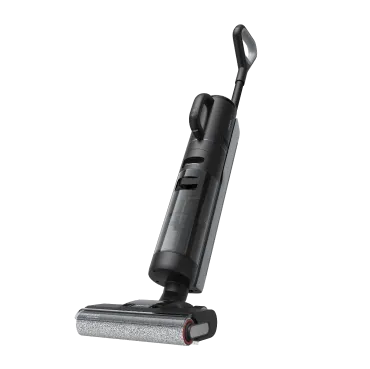
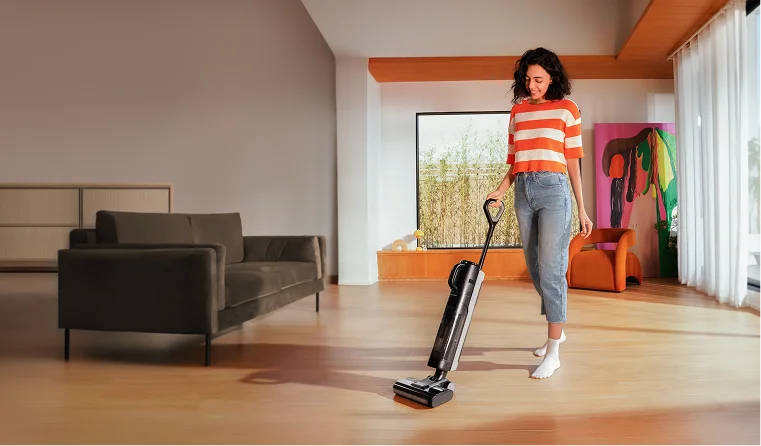
Dreame Take Most scratches come from grit, not mopping. Automating daily pickup keeps grit off the boards, so your weekly damp mop is faster and gentler. With the DreameX50 Ultra handling dust and hair daily—and washing pads with up to 176°F (80°C) hot water—you can reserve natural solutions for quick spot care, not whole-room resets.
Common Mistakes to Avoid When Cleaning Hardwood Floors Naturally
Even the greenest routine can backfire if you miss these:
Too much water → warping/cupping. Damp-mop only; dry immediately.
Abrasive pads → scratches. Stick to microfiber and soft cloths.
Undiluted acids → finish etching. Always dilute vinegar; don't use it on unsealed/waxed floors.
"Natural" ≠ disinfected. Vinegar and essential oils aren't EPA-registered disinfectants. For proper disinfection after bodily fluids or similar, clean first, then use an EPA-registered product as directed.
Conclusion
Natural hardwood care is simple, effective, and sustainable: dry debris removal, light damp-mopping, targeted spot care, and occasional buffing. Imagine wrapping a lively family get-together, glancing down at spotless boards, and not smelling a thing but dinner. That's the balance you want—clean floors, calm air, and preserved finishes.
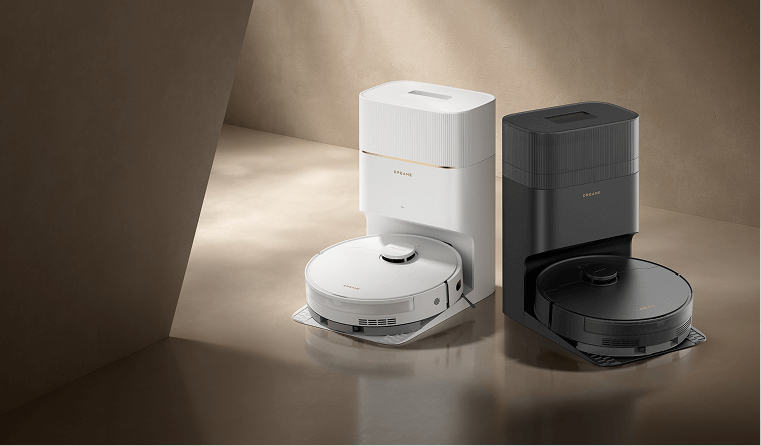
Layer in smart assistance—Dreame X50 Ultra for automatic daily dusting and hands-free mop care—and you'll spend less time prepping and more time enjoying the room you cleaned. Try the steps above today, and explore Dreame's lineup for tools that automate your natural routine.


 PM Series


 Australia
 中国大陆
中国大陆 日本
日本


 Türkiye


 Italia
 Netherlands
 Belgium
 Greece
 Polska
 Norway
 Sweden
 Finland
 Denmark
 Hungary
 Czechia
 Slovenia
 Croatia
 Switzerland
 United Kingdom
 Canada


