How to Clean Marble Floors: Essential Tips for a Gleaming Finish

How to Clean Marble Floors: Essential Tips for a Gleaming Finish

Dreame Editorial Team |
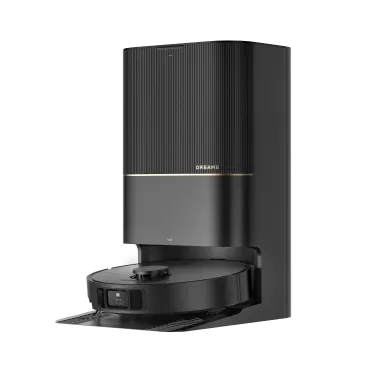
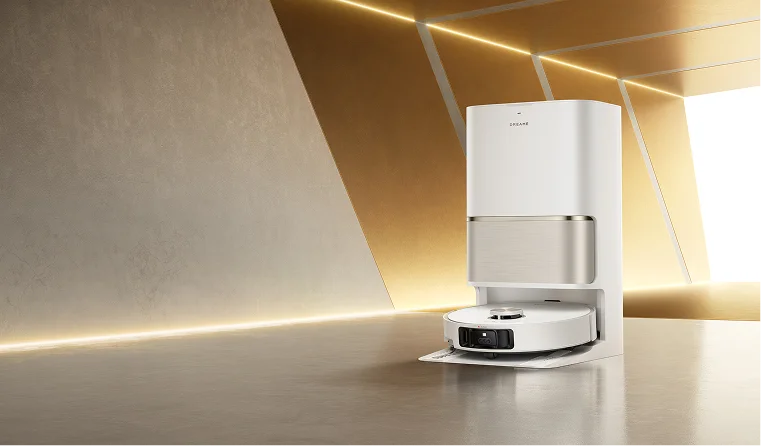
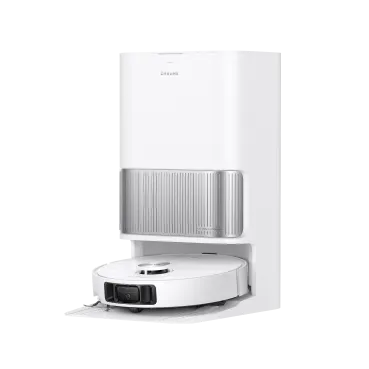
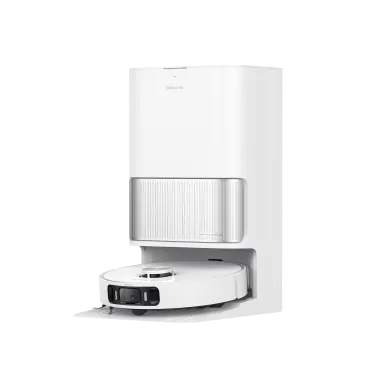
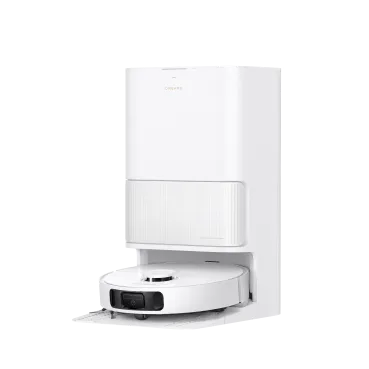
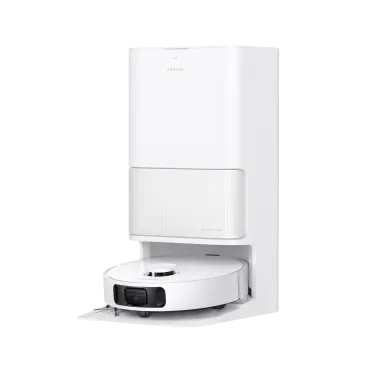
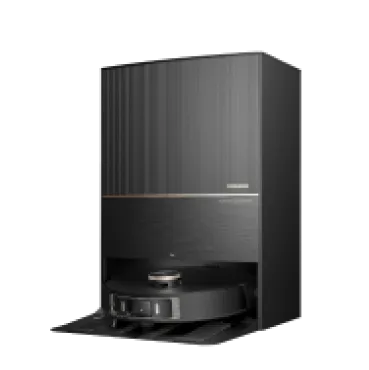
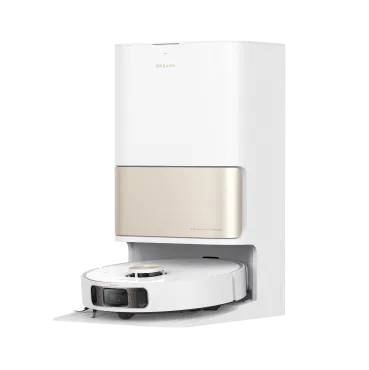
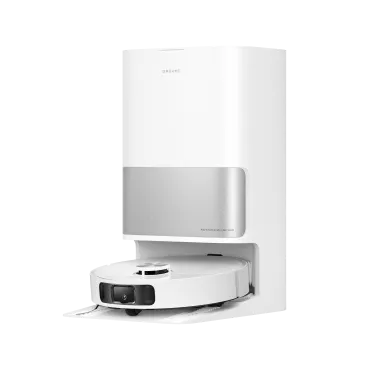
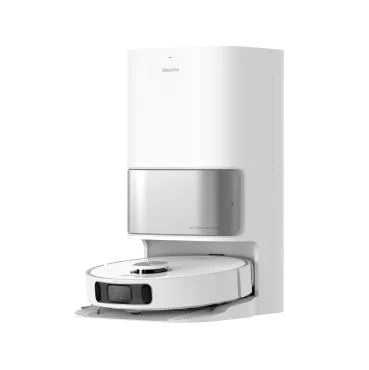
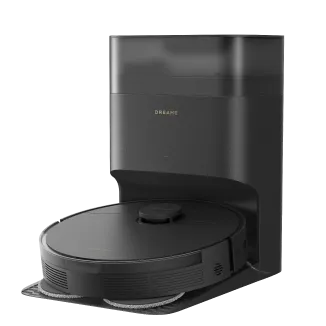
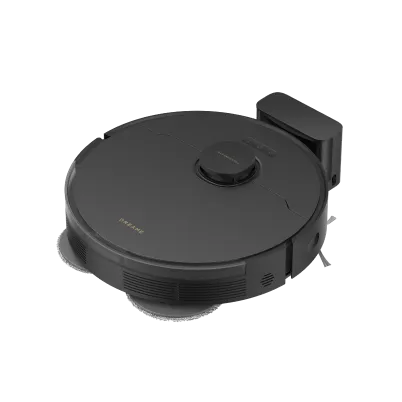
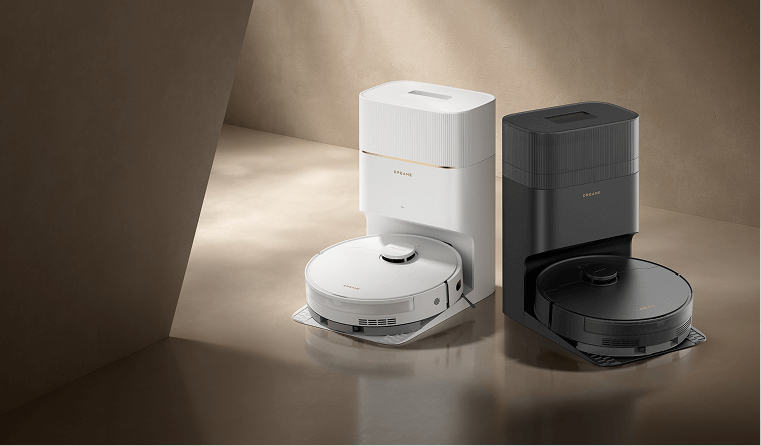
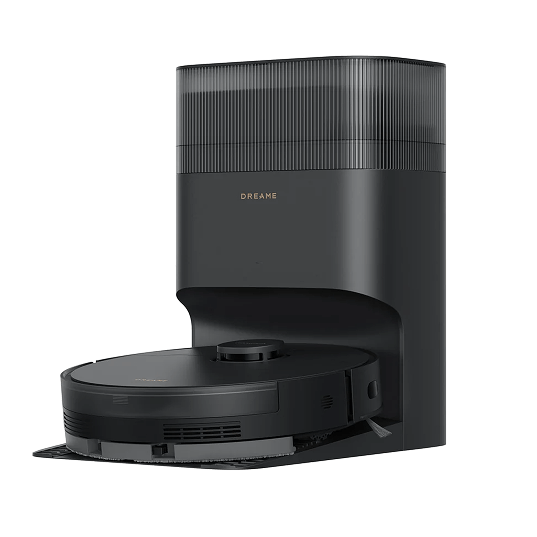
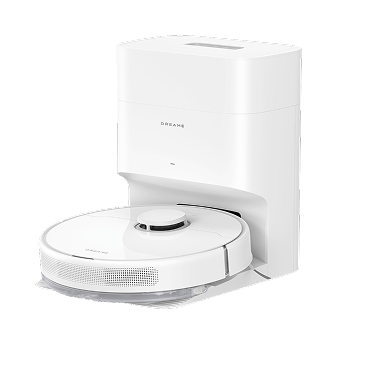
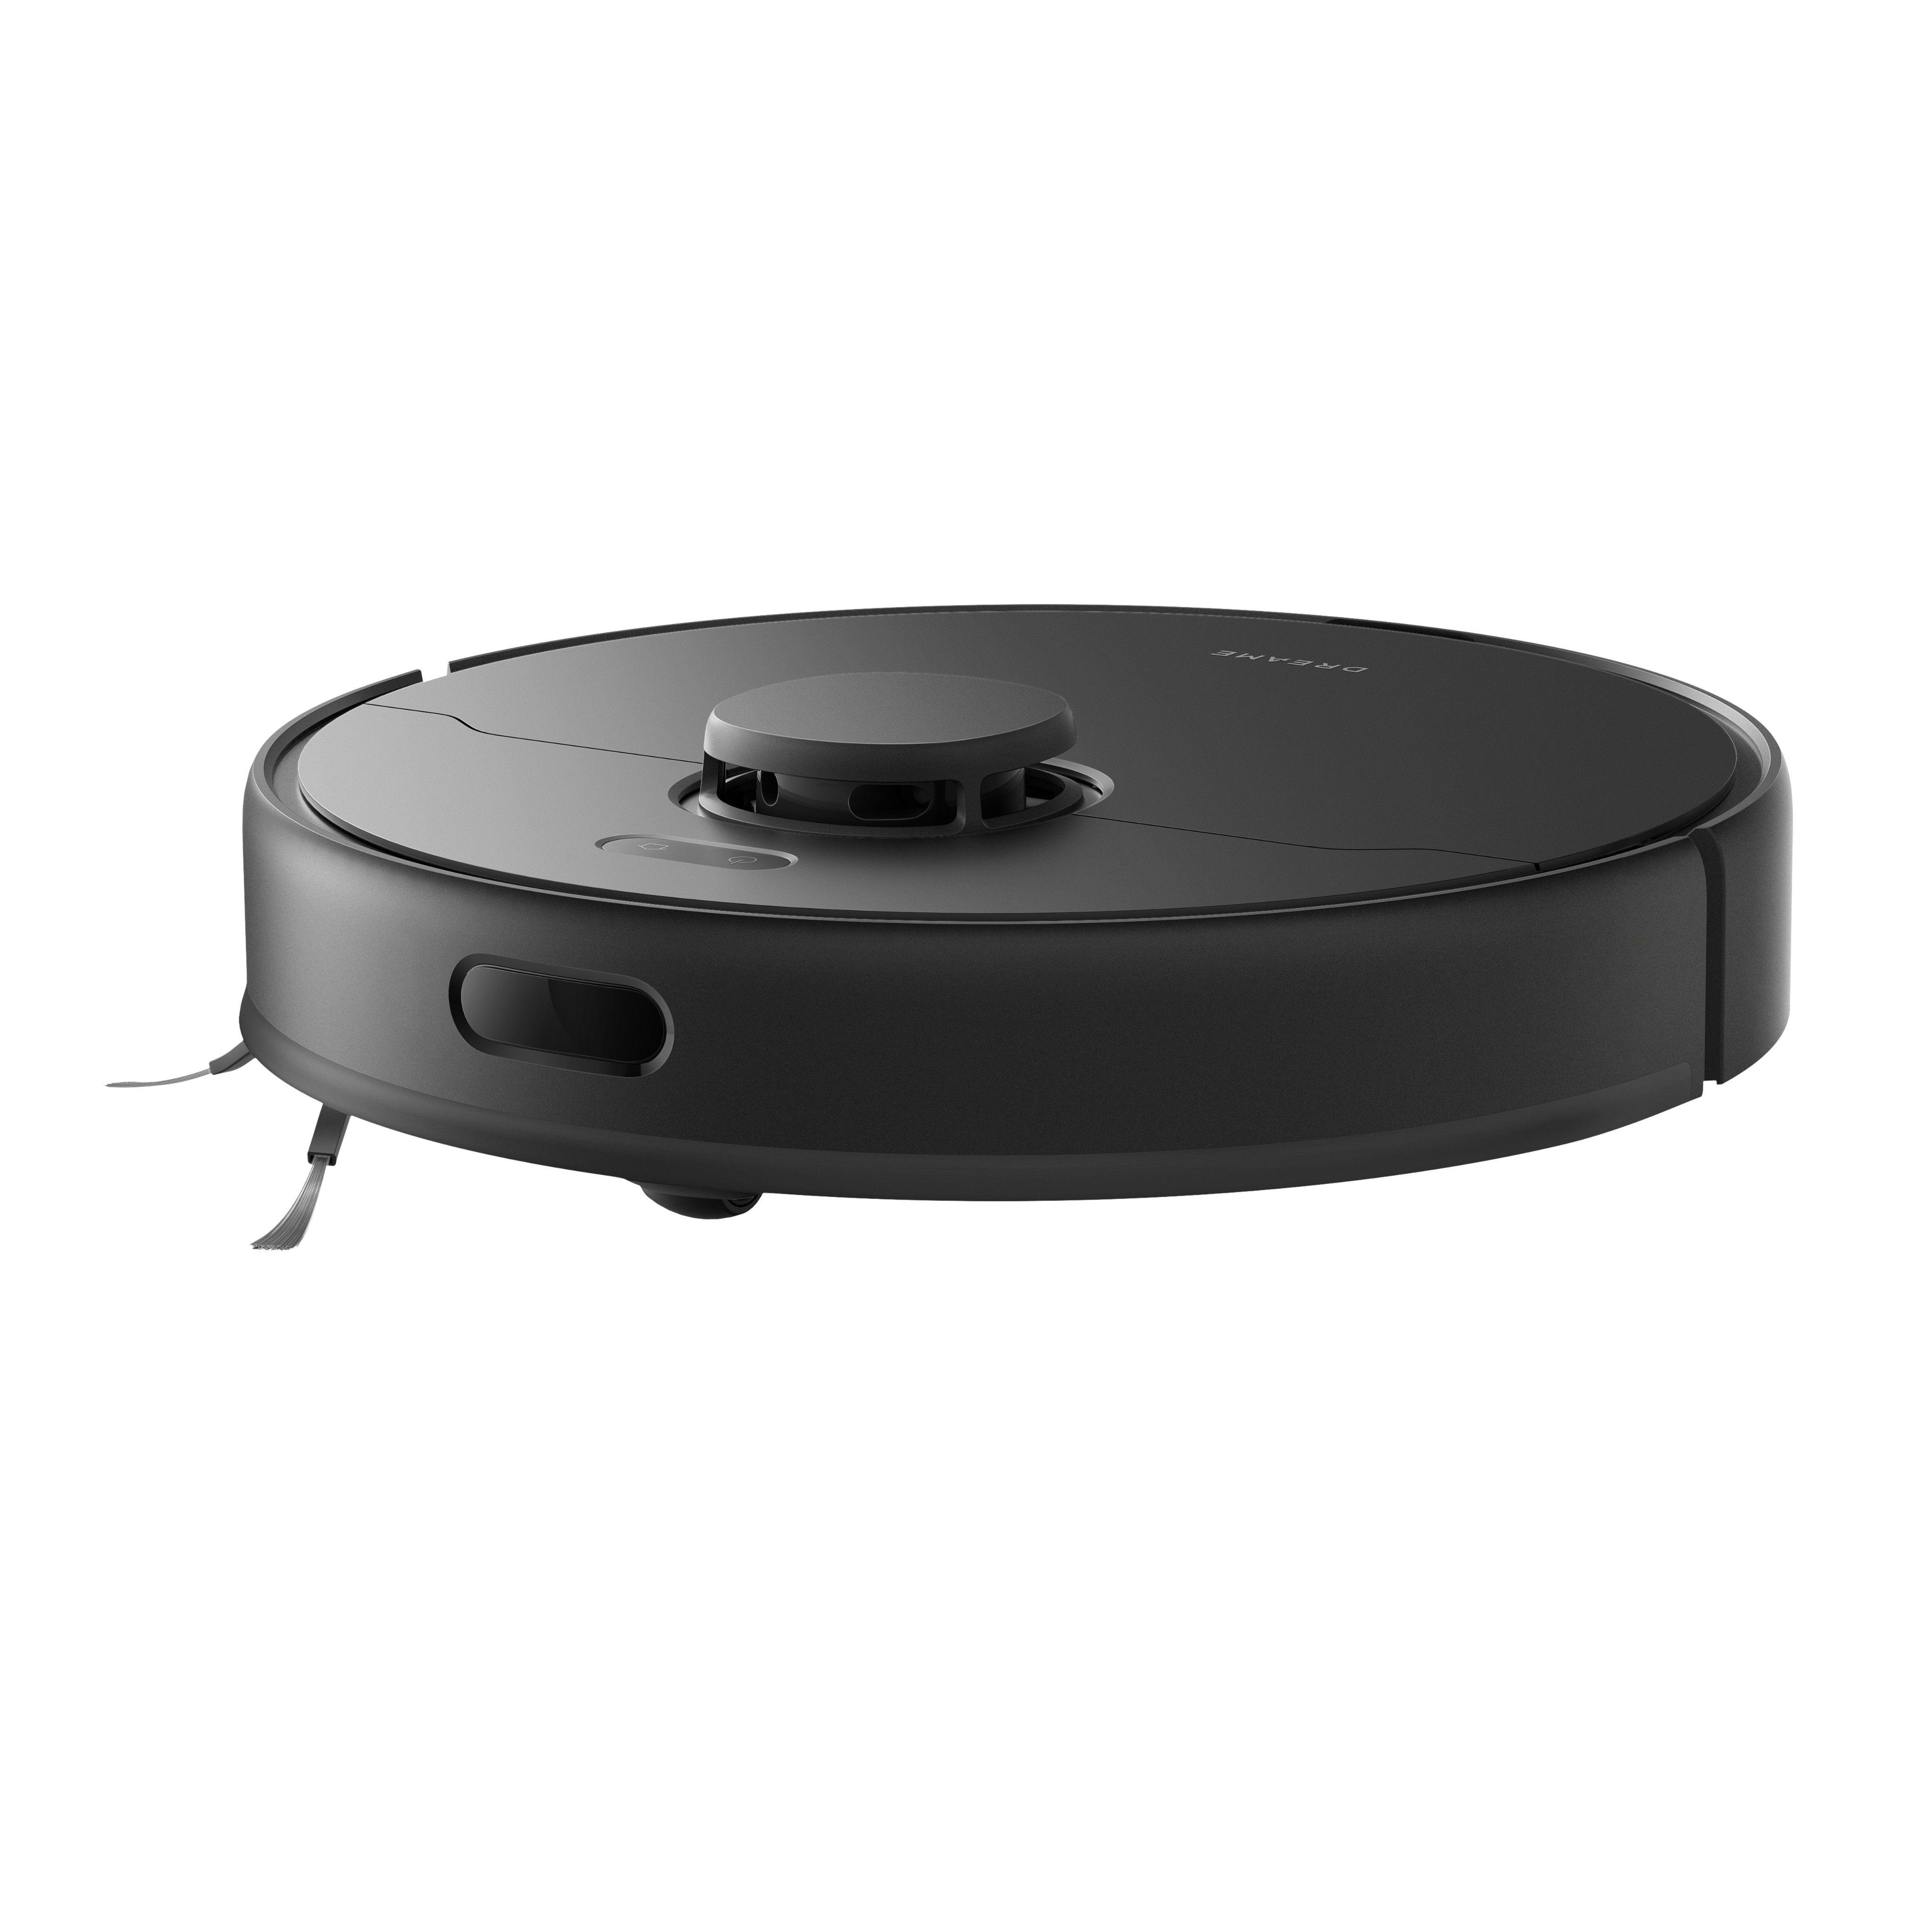
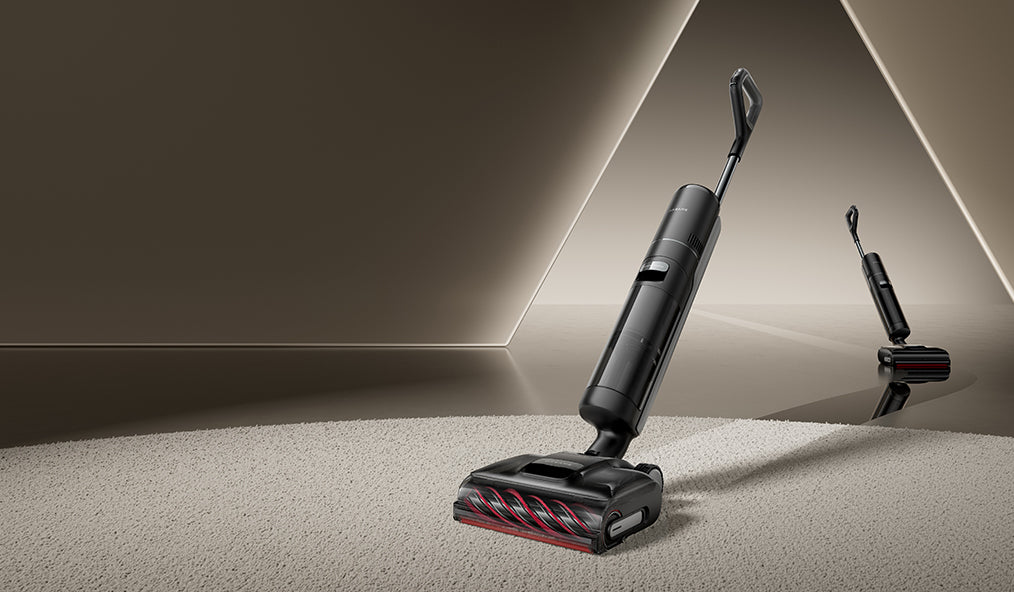
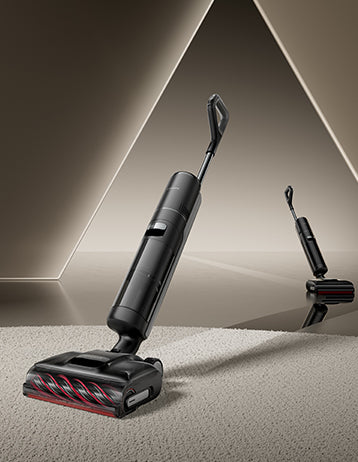
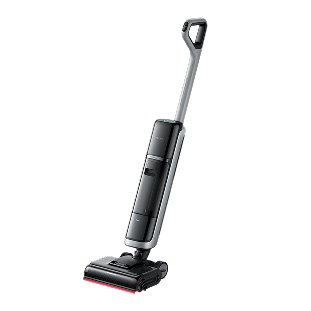
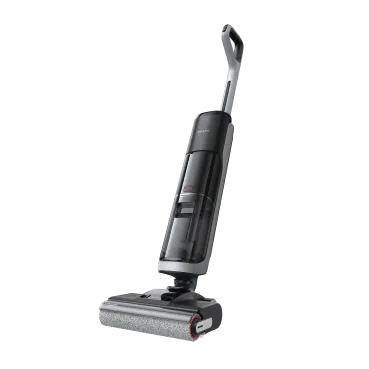
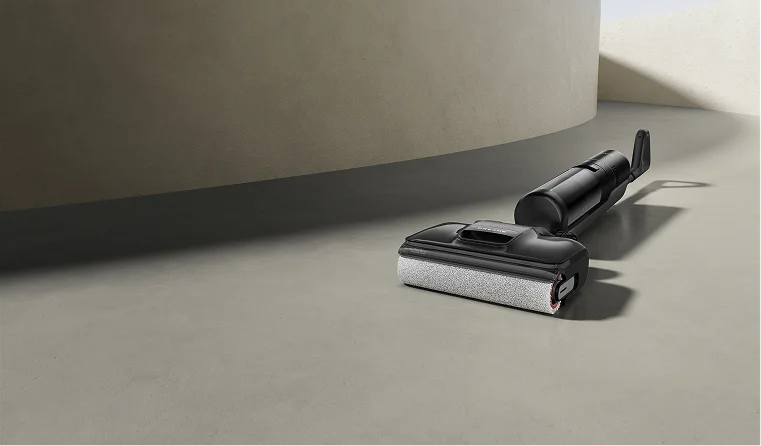
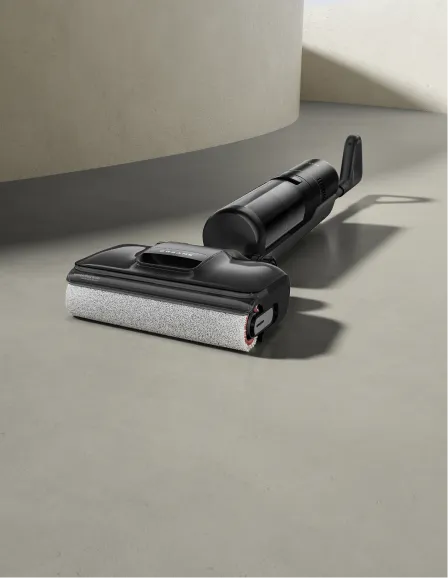
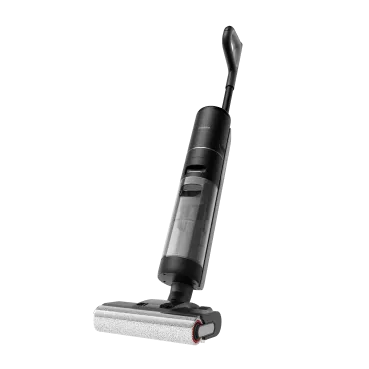
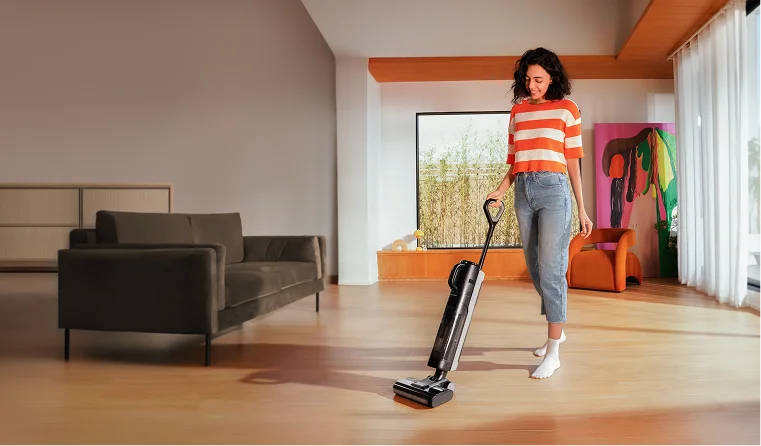
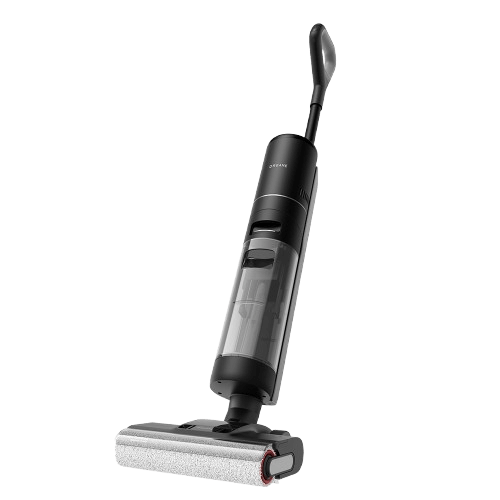
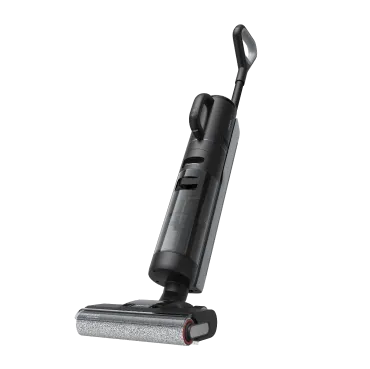
Marble floors add timeless elegance and luxury to any space. From upscale bathrooms to high-end kitchens, their glossy finish and natural veining make them a designer favorite. But maintaining that shine takes care and the right techniques. Marble may be durable, but it’s surprisingly sensitive to acidic cleaners, abrasive tools, and everyday grime. Whether you’re dealing with dullness, stains, or just everyday dust, this guide walks you through how to clean marble floors properly. We’ll cover everything from daily maintenance to deep cleaning, plus smart solutions using modern vacuum tech to help you preserve your floors for years to come. Types of Marble Surfaces: Why They Need Special Care Marble is metamorphic limestone, composed primarily of calcium carbonate. This gives it two vulnerable characteristics: Porosity: It absorbs liquids quickly. Acid sensitivity: Even weak acids like lemon juice or vinegar cause permanent etching. Marble Finish Types & Their Needs Marble comes in several finishes, and each one needs slightly different care: Finish Type Appearance Vulnerability Ideal Locations Polished Glossy, mirror-like shine Shows scratches and etches easily from acidic spills Formal living areas, lobbies, and hallways Honed Soft matte finish Hides scratches better but shows stains more easily Kitchens and bathrooms Tumbled Textured, aged look Most stain-resistant Shower floors, outdoor patios, pool decks Understanding the finish and location of your marble helps you choose the safest and most effective cleaning approach. Pro-tip Always test cleaning products on a small, hidden area first to avoid damage. How to Clean Marble Floors Routine maintenance is the best way to preserve the beauty of your marble floors. Let’s break it down into a few smart categories. Daily Maintenance Dust and debris can cause tiny scratches. Sweep or vacuum daily with a soft-bristle brush or a robot vacuum (like the Dreame X50 Ultra) in hard-floor mode to pick up dirt without damage. Wipe spills immediately, especially acidic liquids like wine, coffee, or citrus juices. For kitchens and bathrooms, a wet and dry vacuum is a safe and effective way to handle spills and splashes. Read this wet and dry vacuum buying guide on how to choose the best one. Weekly Cleaning Pre-treat stains (see stain removal section below). Use a pH-neutral cleaner or mild dish soap mixed with warm water. For effortless debris pickup, pair mopping with the Dreame H12 Dual Wet-Dry Vacuum. Its soft roller won’t scratch marble, and the self-cleaning brushroll prevents tangled hair. For a streak-free shine, dry with a microfiber cloth. Monthly Treatment Grout cleaning using a baking soda paste and a soft brush. Inspect the furniture pads and replace any worn felt protectors. Check the sealant by sprinkling water on it; if the stone darkens, then reseal it. Dreame Take The Dreame X50 Ultra Robot Vacuum is a great pick for daily marble floor cleaning. With its intelligent surface detection and mop-only mode, it gently lifts dust without streaking.   How to Clean Marble Floors Naturally Prefer a chemical-free approach? Here’s how to naturally clean marble floors without harsh ingredients: Mix a few drops of mild dish soap with warm water. Use baking soda paste for stains. Use a soft microfiber mop dampened (not soaked!) in the solution. Rinse with clean water and dry with a towel to avoid water spots. Important Avoid vinegar, lemon, ammonia, or any acidic cleaners, because they can etch and dull marble surfaces. How to Clean Grout in Marble Floors Grout can trap grime and mildew and affect the overall look of your floor. Here’s how to refresh it: Use a soft toothbrush or grout brush. Apply a paste of baking soda and water, let it sit for 5–10 minutes, and gently scrub. Rinse with a damp mop and dry the area thoroughly. For larger areas, the Dreame H12 Dual Wet and Dry Vacuum has edge-cleaning capabilities perfect for targeting grout lines and corners. It saves time and reduces the need for harsh scrubbing. How to Remove Stains from Marble Floors Stains can set quickly on marble, especially in bathrooms or kitchens. Here’s how to treat them: Type of Stain Solution Water stains Buff gently with a dry microfiber cloth. Use a pH-neutral marble cleaner if needed. Pet stains (like urine) Clean immediately. Use a damp cloth with mild soap. Avoid ammonia-based products. Oil-based stains Sprinkle cornstarch or baking soda, let it sit overnight, and vacuum. Organic stains (like coffee or wine) Use a poultice paste (baking soda + water) and cover with plastic wrap. Leave for 24 hours. Pro-tip Always do a spot test before applying any solution over a large area. How to Clean a Marble Shower Floor Marble shower floors are exposed to constant moisture, so they need extra care. Here’s how to best clean them: Use a non-slip brush or mop with a pH-neutral cleaner. Rinse thoroughly and dry the area to prevent soap scum or mildew. Keep good airflow in the bathroom with fans or dehumidifiers. What’s the Best Cleaner for Marble Floors? The best marble floor cleaners are pH-neutral, non-abrasive, and made specifically for natural stone. Look for labels that mention: “Safe for marble” “pH-neutral” “No acids or ammonia” You can also use robot mops like the Dreame X50 Ultra, which supports water-only mopping or gentle cleaning solution use. It keeps your floors sparkling without leaving streaks or residues. Check out this “Vacuum Cleaning Solution” article on how to choose the right solution for your floor. Another great option is Dreame’s L10s Ultra Robot Vacuum, which allows auto-mopping with precision control to avoid over-wetting. For households with kids or pets, choosing natural or eco-friendly options can be a safer and healthier choice. How to Deep Clean Marble Floors Even with regular maintenance, marble needs deep cleaning every few weeks or after high traffic. Step-by-Step Deep Cleaning: Vacuum thoroughly using a soft roller head or robot vacuum. Damp mop with a diluted pH-neutral marble cleaner. For stubborn grime, use the Dreame H12 Dual Wet and Dry Vacuum. Its intelligent water control adjusts to marble surfaces without oversaturation. Dry thoroughly. Use a wet and dry vacuum or set up airflow with a fan to prevent water marks. Important In kitchens and bathrooms, always keep marble dry to avoid mildew or water stains. Use mats or rugs near sinks and showers. Marble Floor Cleaning Tips Keep your floors gleaming with these smart habits: Use entry mats to reduce tracked-in dirt. Avoid dragging furniture. Use felt pads under furniture to prevent scratches. Enable scheduling on your Dreame robot vacuum for daily dust control to prevent buildup. Dry spills quickly, especially in kitchens or on marble shower floors. Rotate rugs and mats to prevent uneven wear or discoloration. Use slippers indoors to minimize grit from shoes. Polish every few months using a marble-safe polish to restore shine. Seal marble annually to protect against stains. FAQs How often should I clean marble floors? Dry mop or vacuum weekly. Deep clean monthly or as needed. Can I use vinegar to clean marble floors? No. Vinegar is acidic and can damage marble. Always use pH-neutral cleaners. What’s the best way to clean marble shower floors? Use a non-slip brush and a marble-safe cleaner. Rinse well and dry to avoid soap scum. Are steam mops safe for marble? It’s best to avoid them. The high heat can damage the sealant and lead to dull spots. What if my marble floor has etching? Etching needs professional polishing. Avoid acidic products to prevent further damage. How often should I seal marble floors? Every 6–12 months, depending on traffic. Are robot mops safe for marble? Yes, if they use water-only or marble-safe solutions (like Dreame’s L10s Ultra). Final Thoughts Keeping marble floors clean doesn’t have to be complicated. With the right tools and routines, you can protect your investment and enjoy their stunning finish for years to come. For daily dust, let the Dreame X50 Ultra Robot Vacuum handle the work. For deeper cleaning and grout care, the H12 Dual Wet and Dry Vacuum is your go-to. With Dreame, cleaning floors isn’t just made easier; it’s made smarter. Need help? Explore Dreame’s marble-friendly cleaning tech for effortless maintenance. Master the Art of Floor Care How to clean hardwood floors How to clean wood floors How to Clean and Mop Tile Floors How to Clean Laminate Floors How to Clean Grout on Tile Floor How to Clean Linoleum Floors Choosing Floor Cleaning Solution
Continue reading
How to Clean Floor Tile Grout Like a Pro: 5 Expert Tips

How to Clean Floor Tile Grout Like a Pro: 5 Expert Tips

Dreame Editorial Team |
It can be annoying: The grout between tiles on your floor remains dingy no matter how hard and often you scrub. In fact, the more you polish, the more the shiny tiles seem to highlight the grimy grout. It’s not a sign of poor cleaning. The solution to cleaning tile grout really boils down to a little bit of chemistry, often using just safe household items. But before you get down to more scrubbing you should understand the type of grout you’re dealing with: 1. Types of Grout: Know What You're Cleaning Sanded grout is often used for wide grout lines. The sand provides bulk, making it ideal for ceramic, porcelain and natural stone tiles where a rustic look or larger joint is desired. Unsanded grout is used for thinner joints or highly polished tiles. Epoxy grout fights stains, chemicals and moisture, making it an excellent choice for busy areas, bathrooms and shower floors. Understanding your grout is the first step toward understanding the solution, whether it is bathroom floor tiles or a kitchen floor. For sanded grout, a paste made of baking soda and water helps deep clean. For tougher stains, consider a hydrogen peroxide and baking soda paste. For unsanded grout, diluted white vinegar can clean and sanitize. Steam cleaning is also a great chemical-free option. For epoxy grout, simple warm water with a few drops of dish soap is usually enough for routine cleaning. For any remaining haze or stubborn post-installation residue, a specialized epoxy grout cleaner might be the answer. Of course you need to be armed with the right tools and cleaners. Most are readily available in your home. You can round out the list in a DYI store or online: 2. Must-Have Grout Cleaning Supplies and Tools Item Description Grout cleaner For tough stains and deeply embedded dirt Grout brush Stiff, narrow bristles to scrub grime Bucket For cleaning solutions and rinse water Microfiber cloth or sponge Highly absorbent for wiping and drying Rubber gloves Protect your hands from solutions and dirt Wet dry vacuum Hot water cleaning and extraction Homemade grout cleaner can include vinegar, baking soda or hydrogen peroxide to provide safe, chemical-free cleaning. Pro-tip A big help is a wet dry vacuum that can break apart stubborn stains, then rinse and dry afterward. The Dreame H15 Pro Heat Wet Dry Vacuum gives tiles wash at 185°F (85°C), then sucks up the loosened dirt, debris and stains. Now it’s time to get down to the nitty-gritty. A little more prep and you’re ready to go! 3. How to Clean Grout in Floor Tiles Bathroom and kitchen grout can differ because of their varied requirements. Epoxy grout is often used in the bathroom due to its water resistance, while the kitchen might have sanded grout because of the larger gaps between tiles used to give a certain look.  Depending on the type and size of the room, steam cleaning could be the preferred solution. Hand cleaning techniques use chemical-free household ingredients while an advanced wet-dry vacuum aids in both preparation and finishing the process. Here is a step-by-step guide to how to clean grout between tiles. Prepare the surface: Use a wet dry vacuum to remove loose dirt and debris. Make a baking soda paste: Mix baking soda with a little warm water to create a thick paste.   Apply the baking soda paste: Using your finger or a spoon, apply the baking soda paste directly onto the grout lines. Prepare the vinegar solution: In a spray bottle, mix equal parts white vinegar and warm water. Spray the vinegar: Spray the vinegar solution directly onto the baking soda paste on the grout. You'll notice a fizzing reaction. Let it sit: Allow the mixture to sit on the grout for up to 20 minutes. Scrub the grout: Using a stiff-bristled brush, scrub the grout lines in a circular motion. Some people use an old toothbrush while others buy a purpose-made brush.Once the brush is in hand, apply firm pressure to work the paste into the grout and loosen embedded dirt. For stubborn stains, you might need to apply more elbow grease. Note: Some users have found that the Dreame H15 Pro Heat Wet Dry Vacuum alone was effective at cleaning the grout and removing grout haze without scrubbing. Once the grout is clean you want to keep it that way. A sealant will help prevent grimy buildup. Quick Guide to Cleaning Tile Grout Method Best for Pros Cons Baking soda + vinegar paste Cement-based grout Inexpensive, natural Requires scrubbing Steam cleaning Epoxy or sensitive grout Chemical-free, less manual Need equipment Wet dry vacuum All floor grout Hot water deep clean, dries fast More costly upfront 4. Why You Need to Seal Grout You need to seal grout to protect it from stains, moisture and future discoloration. Without a sealant, grout absorbs water and dirt easily, leading to mold, mildew, and stubborn stains over time. After the hard work of getting those grout lines back shiny as new, it is a good idea to apply some sealant. How often it’s applied and the type of sealant can vary according the room’s use. Main bathrooms, kitchen floors, entryways and high-moisture areas such as showers should be sealed more often. Recommendations range from every six months to one year. Low-traffic areas like guest bathrooms and laundry rooms might only need sealing every one to two years or even longer. Different sealants for different floors The primary sealant types are penetrating sealers and membrane-forming sealers. Penetrating sealers, also known as impregnators, are highly recommended because s they absorb into cement-based grout, forming an invisible, breathable barrier that repels water and stains without changing the grout's appearance. Membrane-forming or topical sealers for high-moisture areas create a surface coating that can give a specific finish. For most common cement-based grouts in wet environments, a penetrating sealer provides the best protection. Now establish a routine that stops daily buildup. 5. Prevent Buildup on Grout To prevent future grout discoloration and haze, robot vacuum and mop combinations such as the Dreame L40 Ultra Robot Vacuum are excellent for maintaining tile floors, keeping them dust- and spill-free with minimal effort. These ingenious devices first vacuum up loose dirt then seamlessly transition to mopping using water and often a cleaning solution. This dual functionality ensures complete cleaning, preventing daily buildup of grime in busy areas like kitchens and bathrooms. Many models feature smart mapping and navigation, allowing them to efficiently cover entire rooms, avoid obstacles, and even return to a self-emptying and self-cleaning base, providing a truly hands-off approach to consistent floor hygiene and pristine lines of grout between tiles in the kitchen and bathroom. A routine of using a wet dry vacuum to keep surfaces clean is also recommended to deter dirt from settling in the grout between tiles. You are certainly not alone if you have trouble cleaning the grout between tiles on your floor. It's a challenge in almost every home. Frequently asked questions include:  F.A.Q What is the best way to clean grout on tile floors? The best way to clean grout on tile floors is to use a stiff brush with the right cleaning solution such as a paste of baking soda or hydrogen peroxide. For an effective and chemical-free deep clean, a wet dry vacuum cleaner is highly recommended because it uses hot water to loosen embedded dirt and grime. How often should I clean my tile grout? You should deep clean your tile grout at least once a year. However, in high-traffic areas, kitchens and bathrooms, more frequent deep cleaning might be necessary, perhaps two or more times a year. How do professionals clean tile grout? Professionals clean tile grout by first applying specialized pre-treatment solutions to loosen embedded dirt and grime. They then use equipment such as high-pressure hot water extractors or rotary scrubbing machines with specialized brushes to thoroughly clean and rinse the grout lines, often following up with a sealant to protect the newly cleaned surface. How much does grout cleaning cost? The cost of professional grout cleaning typically ranges from $0.50 to $3.50 per square foot, though many companies have a minimum charge, often between $100 and $200. Factors influencing the final price include the total area to be cleaned, the condition of the grout, the type of tile, and whether additional services like sealing or repair are included. Maintaining the look your tile floor had when new is not a mission impossible. Empowered with more knowledge, a little kitchen chemistry and high-tech help from modern appliances, your floors can again be gleaming—just like when first installed.
Continue reading
Does Heat Kill Mold Effectively? The Science Behind Temperature and Spores Revealed

Does Heat Kill Mold Effectively? The Science Behind Temperature and Spor...

Dreame Editorial Team |
It’s an all-too-common scenario: A homeowner is standing in their basement, flashlight in hand, staring at alarming dark patches spreading across once-pristine walls. The musty odor was the first clue, but seeing fuzzy colonies of mold sends a chill down their spine despite the summer heat outside. Now alert, they notice black mold forming in the corners of other rooms.  Determined to thoroughly understand, the owner goes online to check a tip the neighbor gave: “Does Heat Kill Mold Effectively?” they ask a search site—and find that it does. But heat alone might not be the best solution. How Mold Reacts to Heat Mold thrives in moisture levels above 60% relative humidity amid temperatures between 60-80°F (15-27°C). Limited ventilation and darkness aid its growth as it spreads using seed-like spores so tiny they are undetectable to the unaided human eye.  Spores might sound like a scenario from a science fiction movie, but because they are real they can be eradicated through real actions based on real science. Though ominous to some because it can grow silently and undetected, mold is a manageable organism affected by temperature and other environmental factors. Heat is indeed a crucial component because household mold dies at temperatures above 140°F (60°C). Eliminating spores that spread it is more difficult, requiring temperatures of 160°F (71°C) sustained for several hours. Appliances that scrub the air clean are also important to the effort. Dry Heat vs. Moist Heat: Which Works Better? Boiling water or steam cleaners that reach 212°F (100°C) can kill surface mold, including on walls, while portable heaters can bring the temperature inside a room high enough to have an impact, though professional assistance is advised. Also useful in the fight against mold are HEPA air purifiers such as the heat-enabled Dreame Airpursue PM20 Air Purifier. It dries the air while removing micro-contaminants including airborne mold spores. Such purifiers also help lower the relative humidity to create an environment less hospitable to mold. Warmer, drier air helps keep surfaces dry, deterring condensation that helps mold take hold in the first place. If hot water is used to kill mold, Dreame’s wet and dry vacuum cleaners are excellent for extracting moisture from carpets or floors, either before or after heat treatment. The upright, bagless models offer both dry and wet cleaning with suction power of up to 21,000Pa to remove dirt, debris and micro-organisms from multiple surfaces. Does Heat Kill Black Mold Specifically? Heat can kill black mold along with other types of mold. But ideally it's not the standalone solution. Heat should be used as part of a broader remediation plan that eliminates the sources of moisture that cause mold. A holistic plan also includes manual removal, HEPA filtration and dehumidification. Dreame’s wet dry vacuum cleaners again come in handy, this time for safe removal of moldy water. The advanced technology uses hot water to weaken the organisms while the vacuum removes dead mold and water.  Most indoor heating systems can’t reach the temperatures needed to kill mold and its spores, so multiple portable units can be used to reach the required temperature. But with such high heat involved, professionals should be engaged to assist. Dreame Take Avoid using high heat on large areas or porous materials if you are not a trained professional as it can potentially damage materials or even spread spores if not done correctly. Hands-on techniques for mold removal vary according to the surface. For non-porous surfaces such as tile, glass or sealed wood boiling hot water and scrubbing with a brush or cloth using detergent is effective. Heavily affected porous materials such as drywall, insulation, carpet and fabric might have to be cut out and discarded.  Killing Mold in Hard-to-Reach Places: Spray Bottles and Other Tools Spray bottles with a nozzle can get a cleaning solution into corners and crevices. A microfiber cloth or soft washcloth wrapped around a paint stirrer or toothbrush can also help you scrub tricky spots.  Effective Cleaning Solutions: Bleach: Bleach is effective but should be used with caution due to toxic fumes. Mix one cup of bleach with one gallon of water. Apply the solution to the moldy surface using a sponge or spray bottle. Let it sit for 15-20 minutes, then scrub and rinse thoroughly.   Important NEVER mix bleach with ammonia or other cleaners, as it can create dangerous toxic fumes. White vinegar: Spray undiluted white vinegar directly onto the mold. Let it sit for at least an hour, or even 24 hours for tough spots. Then, scrub with a brush and wipe clean with a damp cloth. Hydrogen peroxide: A 3% solution of hydrogen peroxide is a less harsh alternative to bleach. Spray undiluted 3% hydrogen peroxide directly onto the mold. Let it sit for about 10-30 minutes.   Baking soda: Mix 1/4 teaspoon of baking soda with 2 cups of water in a spray bottle. Spray the moldy area and scrub with a brush.  Afterward: Thorough Cleaning and Drying: After physical removal, clean the entire affected area with a damp cloth and an all-purpose cleaner to pick up any remaining mold particles. Use fans, dehumidifiers and HEPA purifiers for complete drying. HEPA Vacuuming: Once the area is dry, a Dreame wet and dry vacuum can thoroughly remove leftover spores and fine dust.  The advanced appliance captures any residual airborne mold spores and fine dust that traditional vacuums might miss. Clean the canister outdoors to prevent re-releasing spores indoors. Another solution for preventative care is robot vacuums with mops. Unlike traditional robot vacuums that only suck up dirt and dust, these have an integrated mopping system that allows them to handle both dry vacuuming and wet mopping tasks.  They also incorporate advanced navigation systems, sensors, and sometimes AI, to map out homes, avoid obstacles and plan efficient cleaning routes. Dreame Robot Vacuum Cleaners vacuum, mop and navigate with precision to ensure floors are clean and dry. They use powerful suction and rotating brushes (main brush and side brushes) to pick up dust, dirt and other debris from the floor. The mopping action is accomplished using a tank that holds water or a cleaning solution and a microfiber pad or cloth attached to the bottom of the robot that scrubs.  With home floors dust-free, mold re-settlement is discouraged. Why Mold Is So Hard to Eliminate Mold is difficult to eradicate because it's a living organism that only needs moisture and some form of organic material to thrive. It grows rapidly and invisibly in hidden areas, and can cause both property damage and health problems. Effective remediation requires not just cleaning the mold, but thoroughly addressing the causes that enabled it to grow in the first place. Understanding the science behind why mold grows empowers us to eliminate it and ensure it doesn't return. A healthy environment provided by Dreame’s range of indoor air quality and cleaning appliances help eradicate mold, protecting your well-being, property and peace of mind.  
Continue reading