Home cleaning
Electric Floor Scrubbers Explained: Types, Uses, and the Best Choice for...
If you search for “electric floor scrubber” online, the results can be confusing. You might see a 58-lb industrial machine, a small handheld spin brush for bathrooms, and a sleek cordless cleaner designed for washing floors.
They all claim to “scrub,” but they serve completely different purposes. In practice, when most people search for an electric floor scrubber for home use, they are actually looking for a cordless wet/dry floor washer—not an industrial scrubber or a handheld spin brush.
To help you make the right investment, we’ve broken down the market into the three main categories that consistently appear in search results. By comparing extraction technology, weight, and surface capability, this guide will help you identify the machine that’s actually designed for residential cleaning.
What Counts as an "Electric Floor Scrubber"? (The 3 Main Types)
While "electric floor scrubber" is the broad term, the machines differ heavily in how they handle dirt and water. In our previous guide, we explained how a floor scrubber works. Now, let’s take a closer look at the different types you might have seen.
Type 1: Industrial Walk-Behind Scrubbers (Commercial Use)
These are heavy-duty machines designed for warehouses, gyms, and wide-open spaces. They are built to strip wax and clean thousands of square feet in a single session, often using massive rotating pads and industrial-grade suction.
Weight: Heavy (often 50-60+ lbs or 22-28+ kg).
Tank Capacity: Massive (starts from 1.5 Gallons or 6 Litres).
Extraction: Powerful vacuum suction.
Overkill for Homes. While they clean well, they are too wide (18" paths) to fit between furniture and too heavy to carry up stairs. They are built for square footage, not precision.
Type 2: Electric Spin Scrubbers (Detail Cleaning)
These tools consist of a motorized rotating brush mounted on a telescoping stick. They rely on mechanical friction to scrub surfaces but lack an internal vacuum system.
Weight: Ultra-light (~4-5lbs or 1.5-2.5kg).
Extraction: None. (This is the critical difference).
Water Resistance: protected against temporary water immersion (IPX7 rating).
Good for Grout, Bad for Floors. Because they lack suction, they loosen dirt but don't pick it up. You strictly use these for scrubbing shower walls, grout lines, or outdoor furniture. If you use this on a living room floor, you still have to mop up the dirty water manually.
Type 3: Wet/Dry Floor Washers (Household Standard)
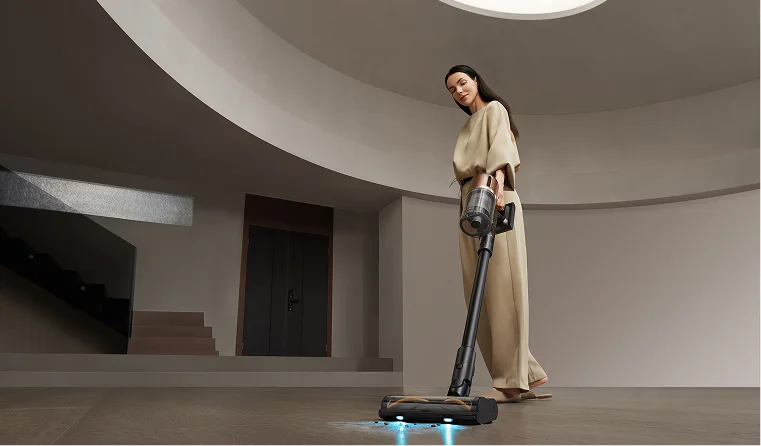
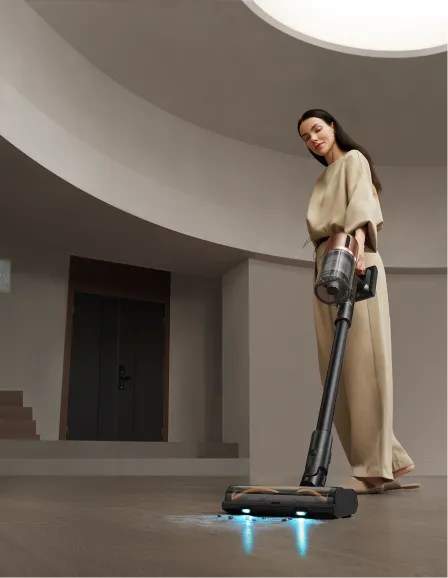
This is the "All-in-One" solution designed specifically for residential flooring. They combine the extraction power of a walk-behind bulky scrubbers with the agility of the spin scrubbers. Unlike the other types, they dispense fresh water, scrub the floor, and vacuum the dirty water into a sealed tank in one continuous pass. You can learn more about the mechanics in our guide on what is a wet dry vacuum.
Weight: Lightweight (10-12 lbs or 4.5-5.5kg).
Extraction: Active vacuum suction (Active Water Separation).
Heating Tech: Often included (unlike Type 1 or 2).
The Best All-Rounder. This is what most homeowners actually need. It scrubs the floor and vacuums the dirty water into a sealed tank instantly.
Electric Floor Scrubber Comparison Matrix
When you compare the specifications side by side, the differences in utility become clear. While industrial machines offer raw power and spin scrubbers offer portability, they both lack the balance required for daily home cleaning. The wet/dry floor washer is positioned in the optimal zone—powerful enough to remove dirty water yet agile enough to maneuver around furniture.
Feature
Spin Scrubber
Industrial Scrubber
Wet/Dry Floor Washer
Technology Type
Rotating Brush Only
Heavy Duty Scrubbing
Scrubbing + Vacuuming
Extraction
❌ None (manual wipe-up required)
✅ High Suction
✅ Smart Suction
Avg. Weight
~3 lbs / 1.4 kg (handheld)
~60 lbs / 27 kg (heavy)
~10–12 lbs / 5 kg (agile)
Heating Tech
No
No
Yes (on premium models)
Best Surface
Grout, tile walls, tubs
Concrete, large halls
Hardwood, tile, laminate
Cleanup
Manual brush wash
Manual tank flush
Self-cleaning base
4 Key Features to Look for in an Electric Floor Scrubber for Home
Whether you are looking at a heavy-duty industrial rental or a sleek home device, there are four universal specs you must evaluate. These features determine if the machine will actually save you time or just add another step to your chore list.
1. Water Recovery System (Suction)
Look for a scrubber that actively vacuums dirty water back up as it cleans. This is the single most important factor for home use because it determines whether floors are left nearly dry and safe after each pass.
Active Suction (Industrial & Wet/Dry): These machines vacuum up the dirty water immediately. For home use, look for high Pa (Pascal) ratings to ensure the floor is left dry and safe. Learn more about what is a good suction power for a vacuum cleaner.
No Suction (Spin Scrubbers): These machines scrub well but leave a muddy puddle behind. You still need a towel or mop to finish the job.
2. Brush Agitation Speed
Look for high-speed brush/roller agitation if you want real stain removal.
High Speed: Look for 500+ RPM (Rotations Per Minute). This mimics the action of scrubbing a spot by hand hundreds of times a second.
Low Speed: Good for gentle polishing but struggles with dried food.
3. Weight vs. Tank Capacity
Look for a balance between usable tank size and maneuverability. Bigger tanks reduce refills, but they also add weight.
The Sweet Spot: Look for a Dual-Tank System that separates clean and dirty water while keeping the total weight under 15lbs (7kg) for easy maneuvering.
Industrial: Massive tanks (1.5+ gallons/ 5.6+ litres) mean less refilling, but the machine weighs 60lbs. You cannot carry this upstairs.
Residential: Smaller tanks (~0.24 gallons / 900 ml) keep the machine light (10–12 lbs / 4.5–5.4 kg).
4. Maintenance (Self-Cleaning)
Your best pick should be a self-cleaning base that washes and, ideally, dries the brush. Any tool that cleans dirt will eventually get dirty itself.
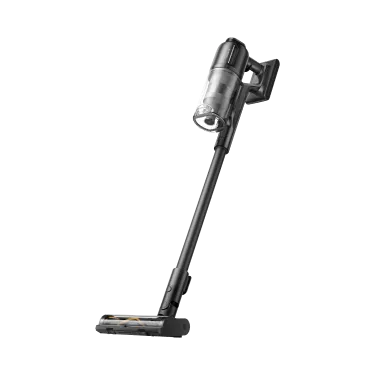
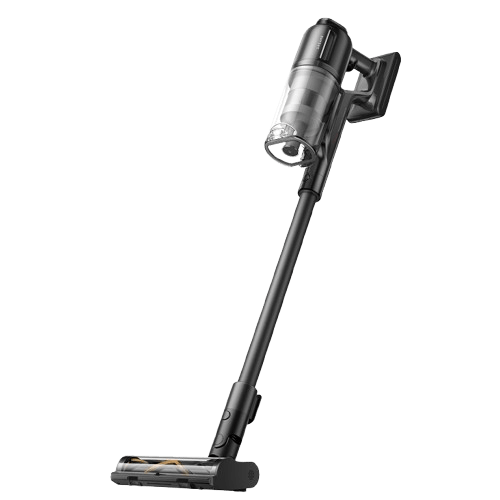
Self-Cleaning: Premium household scrubbers include a base station that washes and dries the brush for you. Models like the Dreame H15 Pro Heat use 185°F (85°C) hot water to dissolve grease from the brush during self-cleaning, ensuring it doesn't harbor odors. For more tips, see how to clean your vacuum.
Manual Clean: Spin scrubbers and industrial pads must be removed and washed by hand.
[product handle="h15-pro-heat-wet-dry-vacuum" rating="4.5"]
Why Wet/Dry Electric Scrubbers Are the Top Choice for Households
After evaluating these features, the wet/dry floor washer emerges as the clear winner for residential use. It is the only category that scores high on all four metrics: it has active suction, high agitation, lightweight design, and automated maintenance.
Hygiene: Unlike spin scrubbers, it physically separates sewage into a dirty water tank.
Versatility: It handles spilled milk (liquid) and dropped cereal (solid) in the same motion.
Floor Safety: Because it extracts water immediately, it is safe for sealed wood and laminate. See our guide on how to clean hardwood floors for safety tips.
Corded vs. Cordless: Which Power Source is Better?
Regardless of which machine type you choose, you will face the "Power Source" decision. While corded units historically offered more power, modern technology has shifted the advantage to cordless.
Feature
Corded Electric Scrubbers
Cordless Electric Scrubbers
Runtime
Unlimited
Optimized for 35–40 minutes (residential use)
Agility
Limited by cord length
High (no cord to trip over)
Safety
Safety hazard (high-voltage risk near water)
High (low-voltage, water-safe design)
Weight
8–12 lbs / 3.6–5.4 kg(feels heavier due to cord drag)
10–14 lbs / 4.5–6.3 kg(feels lighter due to self-propulsion)
Best For
Commercial / industrial halls & large areas
General residential cleaning
Safety: Mixing buckets of water with 110V/220V power cords creates a hazard. A corded machine introduces a high-voltage tripping risk into a wet environment.
Agility: You cannot unwind a 25ft (7m) cord for a quick milk spill. Cordless means "grab-and-go" convenience.
Battery Reality: Modern lithium-ion batteries now offer ample runtime (35-40 minutes) for large homes, removing the need for infinite corded power.
For most of homes, Cordless is the only logical choice. For a detailed breakdown, you can read our guide on choose vacuum cordless vs corded.
Electric Floor Scrubber vs. Alternatives (When to Use What)
While the Wet/Dry Electric Floor Scrubber is the most versatile tool for liquid spills and deep cleaning, it isn't the only option on the market. Many homeowners compare them against Steam Mops and Robot Vacuums.
Here is how they stack up against a floor scrubber.
1. Electric Floor Scrubber vs. Steam Mop
A steam mop uses superheated steam to sanitize floors, whereas a floor scrubber uses water flow, mechanical agitation, and suction. Read our full comparison on wet dry vacuum vs steam mop.
Pros: It offers chemical-free sanitization using high heat, operates silently, and is extremely lightweight to carry.
Cons: It lacks suction. It cannot pick up crumbs, hair, or liquid spills, which means if the floor isn't perfectly swept first, you are simply pushing hot mud around. The intense heat also poses a warping risk to sealed wood.
Best For: Sanitizing bathroom or kitchen tiles after you have already vacuumed and spot-cleaned.
2. Electric Floor Scrubber vs. Robot Vacuum & Mop
A robot automates the cleaning process, while a floor scrubber is a manual power tool you control. If you are debating features, check out our guide on robot vacuum no mop vs combo.
Pros: It requires zero effort from you. It cleans daily while you are at work, maintains a consistent baseline of cleanliness, and easily reaches under low-profile furniture like beds.
Cons: It cannot handle "disaster" messes. Most robots cannot suction up a glass of spilled milk or a bowl of cereal without smearing it, and they lack the heavy downward pressure needed for dried-on kitchen grease.
Best For: Daily maintenance to keep dust and hair under control. The ideal setup is to use a Robot for daily sweeping and an Electric Floor Scrubber for the deep weekly wash or sudden spills.
Final Verdict: Is an Electric Floor Washer Worth It?
If you are still on the fence, consider the value of your time and hygiene.
The "50% Rule": By combining vacuuming and mopping into one pass, an electric floor washer literally cuts your floor cleaning chore in half.
The "Clean Water" Guarantee: Unlike mops (which spread dirty water) or spin scrubbers (which lack suction), only a floor washer ensures you are cleaning with fresh water every second.
Stop spreading dirt with a mop or a spin brush. Remove it completely with a Cordless, Wet/Dry Electric Scrubber.
FAQ on Electric Floor Scrubbers
Do electric scrubbers work on tile grout?
Spin scrubbers are excellent for deep cleaning grout lines physically. However, Wet/Dry Washers are better for maintaining grout because they suck the dirty water out of the crevices rather than letting it settle back in. For specific grout tips, see how to clean floor tile grout.
Are electric floor scrubbers loud?
Industrial models can be very loud. However, modern home Wet/Dry washers are designed for residential use. Look for brushless motors and noise reduction specs below 76dB. To understand what this sounds like, check how many decibels is a vacuum cleaner.
Do I need to vacuum before using a floor scrubber?
If you buy a Spin Scrubber or Electric Mop: Yes, you must sweep first.
If you buy a Wet/Dry Washer (like the Dreame H Series): No. These machines vacuum debris and wash the floor simultaneously, saving you an entire step. Read more on the vacuum first mop cleaning rule.
Are electric spin scrubbers worth it?
Electric spin scrubbers are worth it for specific detail work, such as cleaning bathroom grout or shower tiles. However, for general floor cleaning, they are often insufficient because they lack suction and require you to wipe up the dirty water manually.
How long do cordless scrubbers last?
You can generally expect the battery in a high-quality cordless scrubber to last 3-4 years before needing replacement. The brushless motor itself typically lasts much longer with proper maintenance.
Is an electric scrubber safe on wood?
Yes, specifically Wet/Dry Floor Washers. Because they use active suction to extract the water immediately, they leave wood floors nearly dry, preventing the moisture damage risks associated with steam mops. See our guide on how to clean hardwood floors.
Can I use a floor scrubber on carpets?
Standard hard floor scrubbers should not be used on carpets. However, versatile models like the Dreame H15 Pro CarpetFlex have specific carpet modes and brush attachments designed to refresh rugs without soaking them. Read more in our guide on wet vacuum for carpets.
Do electric floor scrubbers break easily?
Durability often comes down to maintenance and drying. Machines that don't dry themselves properly can suffer from moisture corrosion or mold buildup. High-end models with Hot Air Drying (like the Dreame H Series) prevent this by ensuring the brush and internal pipes are completely dry after every use. For longevity tips, see our guide on tips to improve robot vacuum cleaner lifespan.










 Australia
 中国大陆
中国大陆 日本
日本


 Türkiye


 Italia
 Netherlands
 Belgium
 Greece
 Polska
 Norway
 Sweden
 Finland
 Denmark
 Hungary
 Czechia
 Slovenia
 Croatia
 Switzerland
 United Kingdom
 Canada


