00
Days
: 00
Hours
: 00
Mins
: 00
Secs
Shop Now close button

Latest insights

How to Connect Your Robot Vacuum to Wi-Fi (Step-by-Step Guide)

How to Connect Your Robot Vacuum to Wi-Fi (Step-by-Step Guide)

Getting a new robot vacuum is exciting, but it only reaches its full potential once connected to Wi-Fi. A Wi-Fi connection lets you control cleaning schedules, set no-go zones, and get the most out of the robot vacuum cleaner app. Without it, you’re limited to basic manual functions. In this guide, we’ll walk you through how to connect a robot vacuum to Wi-Fi step by step. You’ll also learn how to troubleshoot common connection issues, explore what features you gain through the app, and see which Dreame models make setup easier. By the end, you’ll know exactly what to expect and how to get your robot vacuum running smoothly. Do Robot Vacuums Need Wi-Fi? Short answer: No. Your robot vacuum can clean without Wi-Fi. You can press the start button, and it will handle basic cleaning. However, operating without Wi-Fi is like having a sports car you can only drive in first gear; you’re missing out on all the best features! Connecting to Wi-Fi enables: App Control: Start, stop, and customize cleaning remotely from your phone. Scheduling: Set daily or weekly cleaning times so your floors stay spotless. Smart Mapping & Cleaning Reports: See where your vacuum has been and what’s left. Set no-go zones, and select specific rooms to clean. Voice Commands: Use Alexa, Google Assistant, or Siri to control your vacuum hands-free. Firmware Updates: Automatic updates keep your vacuum running smoothly and can even add new features over time. If you’ve ever wondered, are smart vacuums worth it? The ability to connect to Wi-Fi and unlock features like detailed maps and automatic updates is one of the reasons many people choose them. Read more in our blog: Are Smart Vacuums Worth It? Your Complete Guide to Smart Vacuum Cleaners in 2025.   Pro-tip If you're waiting on a new router or other delays, remember you can still run manual cleans to keep your floors maintained while you sort out the Wi-Fi connection.   Step-by-Step Guide: How to Connect a Robot Vacuum to Wi-Fi While the exact steps can vary slightly by brand, the general process for connecting your robot vacuum to Wi-Fi is similar across most models. Before diving in, here’s what to prepare: Network Band: Make sure you have a 2.4 GHz Wi-Fi network. Most robot vacuums don’t support 5 GHz or 6 GHz networks. Your router may have a single name (SSID) for both bands; if you have trouble, check your router settings to create a separate 2.4 GHz network temporarily. Security Mode: Set your Wi-Fi security to WPA2-PSK or WPA2/WPA3 mixed. Avoid a WPA3-only setup. SSID Basics: Use a simple network name. Avoid hidden SSIDs, emojis, or special characters like apostrophes. Phone Prep: Connect your phone to the same 2.4 GHz SSID. Turn on Bluetooth. Disable any VPNs or Apple Private Relay temporarily, as they can interfere with the device discovery process. Router Quirks: If your router uses one name for both 2.4 GHz and 5 GHz, temporarily split them (like “Home-2G” and “Home-5G”) for setup. For Dreame robot vacuums, this is done through the intuitive Dreamehome App. Steps to Connect: Download the App: For Dreame models, search for the "Dreamehome" app on the iOS App Store or Google Play Store and install it. Create an Account: Open the app and register for a new account or log in. Power On Your Vacuum: Ensure your robot vacuum is powered on and placed near your Wi-Fi router during setup. Add a Device: Tap the "+" or "Add Device" button within the app. The app will typically guide you through the process. Select Your Model: Choose your specific robot vacuum model from the list. Enter Wi-Fi Credentials: You will be prompted to select your 2.4 GHz Wi-Fi network and enter its password. Follow In-App Instructions: The app will now communicate with your vacuum (usually via Bluetooth first) to transfer the Wi-Fi details. You may hear a voice prompt or chime from the vacuum confirming it's connecting. Connection Success: Once the process is complete, the app will show a success message, and your vacuum will appear on the main dashboard. You can now start exploring its features! For detailed, model-specific instructions, always refer to the Dreamehome App Guide. 2.4 GHz vs. 5 GHz for Robot Vacuum Connectivity You might be wondering why your advanced robot vacuum prefers the older 2.4 GHz Wi-Fi standard. The reason is simple: range and compatibility. 2.4 GHz: Slower speed, longer range, and better penetration through walls and floors. Compatible with nearly all robot vacuums. Since your robot vacuum needs to stay connected as it moves around your entire house, this extended range is crucial. 5 GHz: Faster, but shorter range, making it better for stationary devices like laptops and smart TVs. Most vacuums don’t support it. If your phone defaults to 5 GHz, switch to 2.4 GHz before setup. Some routers let you separate the two networks; others require a temporary tweak in router settings.   Pro-tip Once setup is complete, you can re-enable band steering if your router supports it.   How to Reset and Reconnect (When You Change Routers or Wi-Fi Names) Moved to a new home or changed your Wi-Fi password? No problem. You’ll need to reset your vacuum’s Wi-Fi settings and go through the connection process again. The reset process varies by model. For many Dreame vacuums, you can reset the Wi-Fi by: Pressing and holding the Clean and Dock buttons simultaneously for about 3 seconds. You will hear a voice prompt saying, "Wi-Fi reset. Waiting for network configuration." Once the power indicator light blinks, the Wi-Fi has been reset, and the vacuum is discoverable in the app again.   Important Resetting may erase saved maps. If your model supports export/backup, save maps before resetting.   Extra Tip: Preparing for Router Changes If you know you’re upgrading your router, plan ahead: Save or export maps in the Dreamehome app. Keep your old SSID and password the same on the new router for a seamless transition. Have your phone ready for quick re-pairing if needed. Another overlooked step is placement. Keep your robot dock within a good range of your router. Walls and thick furniture can weaken the signal. A stable connection ensures better map saving and faster updates. Best Wi-Fi-Connected Dreame Robot Vacuums in 2025 Choosing the right model can make setup and daily cleaning even smoother. Dreame offers a range of powerful models that excel with app control and smart features. Model Best For Key Features Dreame X50 Ultra Large homes & premium users AI mapping, auto mop washing, and self-emptying Dreame L50 Ultra Busy families Strong suction and smart navigation Dreame L40s Ultra Apartments & small spaces Compact design and affordable smart features The Dreame X50 Ultra was recently reviewed in detail as part of our blog: Dreame X50 Ultra Review. Check it out to see just how much difference Wi-Fi and AI mapping can make for day-to-day living. Unlock Smarter Cleaning with the Dreamehome App The Dreamehome App is the brain behind the brawn. It’s where you’ll manage everything from daily schedules to advanced home mapping. Download it for Android or iOS to turn your robot vacuum into a truly intelligent home appliance. The app enables: Remote Access: Control cleaning from anywhere. Customized Maps: Create no-go zones, multi-floor maps, and room-specific cleaning. Reports and Alerts: See when your vacuum finishes or when it needs maintenance. Integration with Dreame Ecosystem: Connect with other Dreame devices for unified home care. FAQs 1. Do all robot vacuums require Wi-Fi? No. They can clean without Wi-Fi but lose advanced features. 2. Will a Wi-Fi extender work with a robot vacuum? Yes, as long as the extender broadcasts a 2.4 GHz signal. 3. Which robot vacuums work with 5 GHz Wi-Fi? Most don’t. Check model specs carefully. Dreame models currently require 2.4 GHz. 4. Is there a robot vacuum that doesn’t need Wi-Fi? Yes, but they won’t offer app control, smart maps, or updates. 5. Can I use the same app for multiple Dreame devices? Absolutely. The Dreamehome app supports multiple devices so you can manage vacuums, mops, and more in one place. Final Thoughts Learning how to connect a robot vacuum to Wi-Fi is simple once you know the steps. The payoff is huge: smarter cleaning, remote control, and a home that takes care of itself. With Dreame’s lineup of Wi-Fi-connected vacuums and the Dreamehome app, staying on top of messes has never been easier. If you’re still deciding which robot vacuum is best for your space, our blogs on small-space robot vacuums and dust-busting vacuum comparisons are great places to start. A few extra minutes spent learning setup now will save you countless hours of cleaning later.
View more
How Often to Replace a Vacuum: Lifespan, Signs, and Smarter Alternatives

How Often to Replace a Vacuum: Lifespan, Signs, and Smarter Alternatives

You're vacuuming your living room, when suddenly, you notice something strange. You pass over the same line of crumbs three times, but they’re still there. You check the filter, the brush, even the hose. Nothing’s obviously wrong, but the suction’s weak, and now the motor sounds a little off too. Is it just a clog? Do the vacuum batteries need replacing? Or is your vacuum on its last legs? Knowing when to repair or replace a vacuum can be tricky. Some problems creep up quietly, while others are impossible to ignore. The right choice often depends on your home’s size, the kind of messes you deal with, and how often you clean. This guide breaks down the most important signs that it’s time to replace your vacuum and introduces smarter, longer-lasting options that can improve your cleaning routine and your home's air quality. Let’s dive in. When to Replace a Vacuum Cleaner? Most upright and stick vacuums last about 5 to 8 years. Robot vacuums can run even longer with regular care. If your vacuum falls into that age range, start watching for red flags like weak suction or repeated clogs. As a rule of thumb: If the cost of repairs is more than half the price of a new machine, consider upgrading. If performance drops noticeably, even after cleaning filters and brushes, it’s likely time for a replacement. If your lifestyle changes, like adding pets, having children, or moving to a bigger home, you may need new vacuum features sooner than expected. Curious how long most vacuums actually last? Dreame explains it well in How Long Should a Vacuum Cleaner Last. 6 Signs You Should Get a New Vacuum You don’t need to guess. These signs tell you a vacuum has reached the end of its useful life: Loss of Suction If your vacuum takes multiple passes to pick up debris, the motor or belts may be worn out. A working vacuum should clean in one or two passes. Frequent Clogs and Blockages Occasional clogs happen, but frequent ones signal airflow problems. Quick fixes like replacing filters or belts may help, but recurring clogs often point to larger issues. Strange Noises or Odors Grinding, squealing, or burning smells are warning signs. They usually mean internal parts are failing, and continued use could damage floors or even pose a safety risk. Overheating If your vacuum shuts off or feels hot during use, the motor may be overworked. Blocked airflow or worn belts can also cause overheating, leading to permanent damage if ignored. Outdated Technology Machines older than eight years may lack HEPA filters, efficient brushes, or smart navigation. Newer vacuums clean better, save energy, and trap allergens more effectively. Housing/Flooring Changes The vacuum that worked fine in a small apartment may not keep up in a larger home. Changes in flooring or daily messes can make an upgrade worthwhile. Should You Replace Parts or the Whole Vacuum? Sometimes replacing a part adds years of use. Before discarding a vacuum, check whether a simple fix will do. Part Clean/Replace Frequency Tips HEPA Filter Clean monthly; replace every 6–12 months A dirty filter reduces suction and may release allergens back into the air. Consider upgrading to a HEPA filter if allergies are a concern. Brush Roll Remove hair monthly; replace annually Worn bristles can’t agitate carpet fibers effectively, leading to poor pickup. Belt Inspect every 6 months; replace if cracked Loose belts reduce brush speed and suction power. Battery (Robot Vac) Check after 2 years; replace if runtime drops A weak battery reduces cleaning coverage. Proper charging habits extend lifespan. Dust Bin / Bag Empty after each use; replace bag weekly or as needed Overfilled bins stress the motor and cause clogs.   For more on keeping your vacuum running, read 10 Expert Tips to Extend Your Robot Vacuum’s Lifespan. Why Change a Vacuum Cleaner if It Still Works? A vacuum may turn on but still fail at its job. Here’s why replacing it can make sense: 
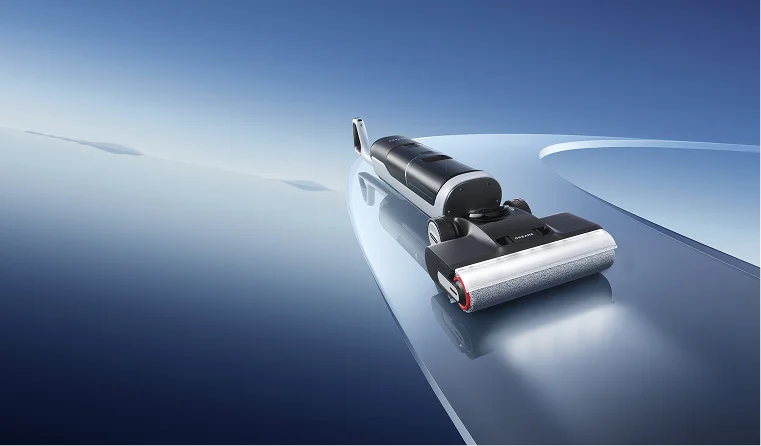
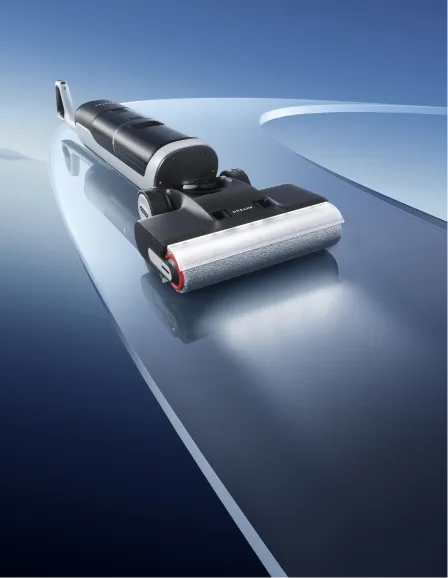
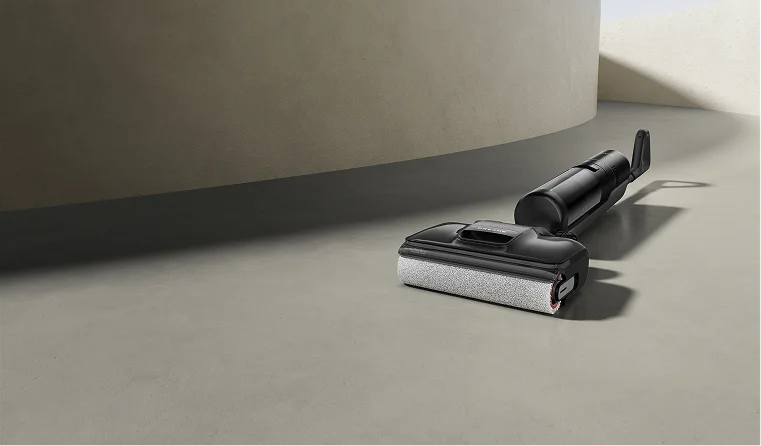
Poor Cleaning Performance: If it takes too long or leaves debris behind, it’s time to upgrade. New Dreame vacuums with soft roller brushes clean more efficiently in fewer passes. Frequent Breakdowns or Repairs: Constant fixes get costly. Modern models use stronger parts that hold up better over time. 
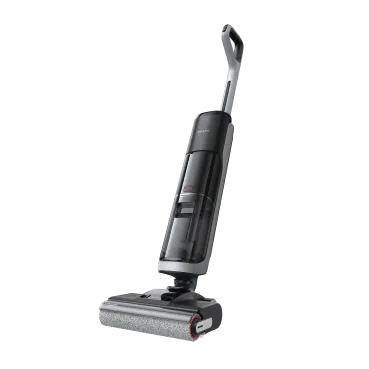
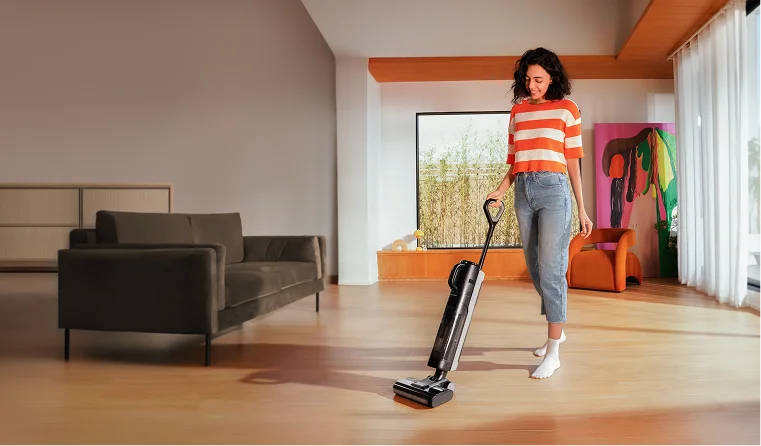
Modern Features That Save Time: Robot vacuums map your home and empty themselves. Wet dry vacuums, like the Dreame H15 Pro Heat, vacuum and mop at once. Health Benefits: New models include sealed HEPA filtration that traps fine dust and allergens, especially helpful for households with pets or allergy concerns. Life Changes: Babies, pets, and bigger homes bring new cleaning challenges. Dreame’s robot vacuums and wet dry models adapt to daily needs and reduce manual work. Upgrade Smarter: New Vacuums That Last Longer Replacing a vacuum isn’t just about fixing an old machine. It's a chance to upgrade to smarter, more powerful tools that fit your evolving needs. Dreame’s lineup includes robot and wet dry vacuums built for long-term performance and low maintenance. Wondering if the upgrade is worth it? Take a look at Are Smart Vacuums Worth the Investment.
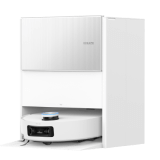
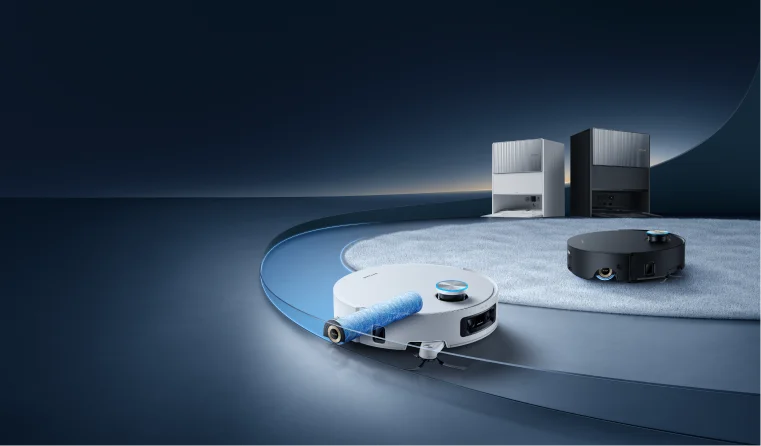
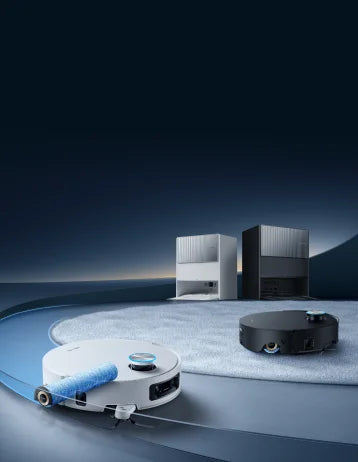
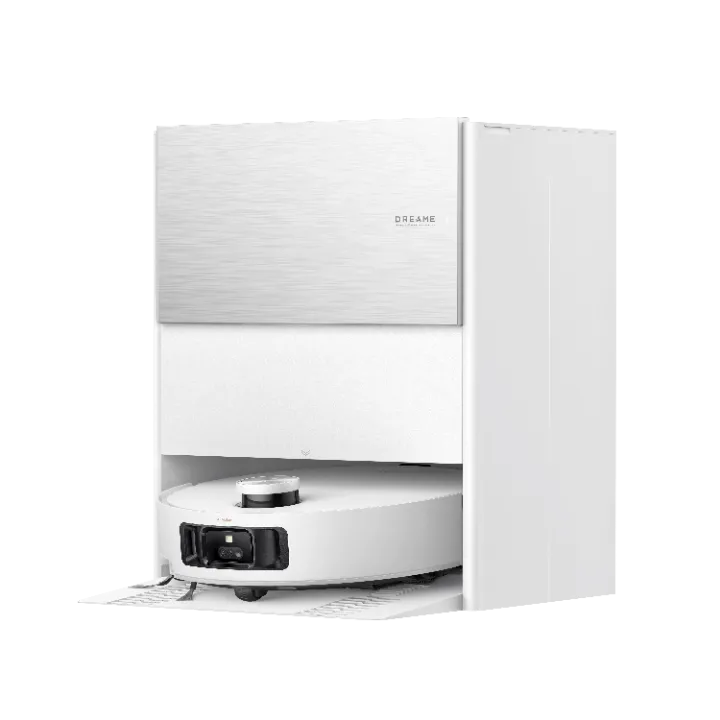
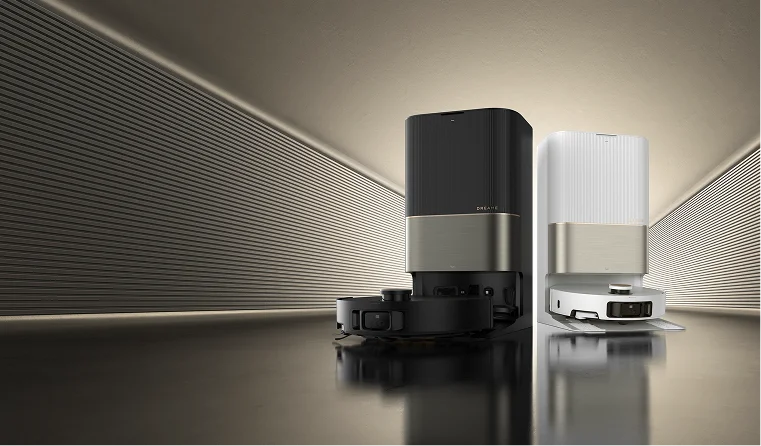
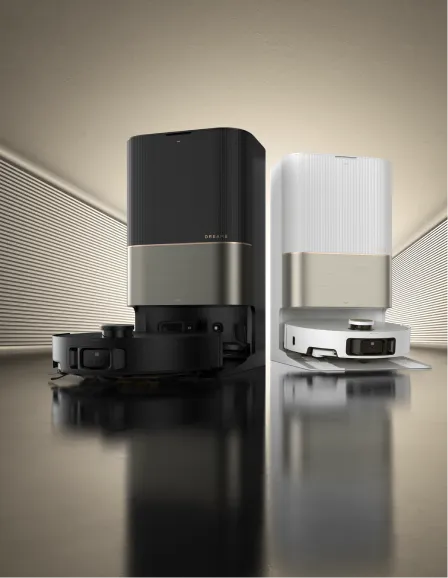
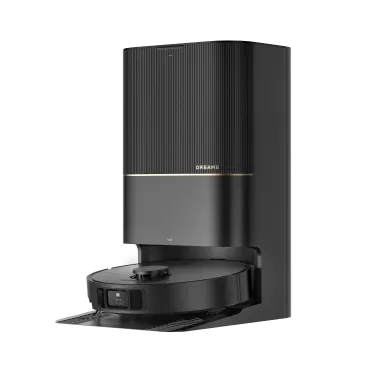
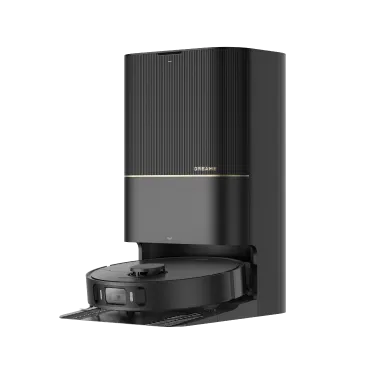
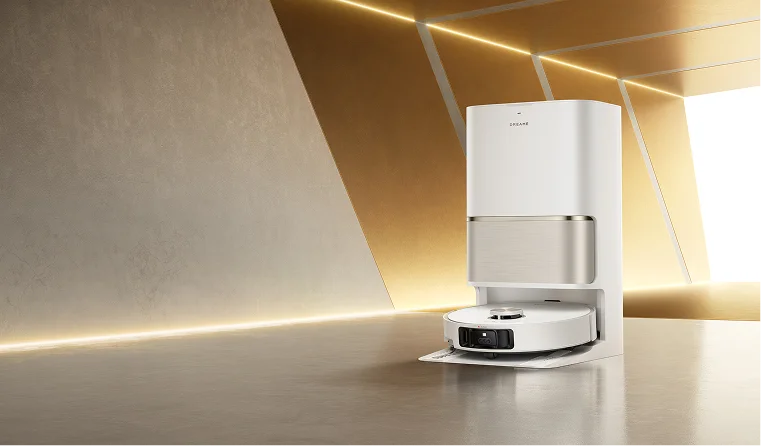
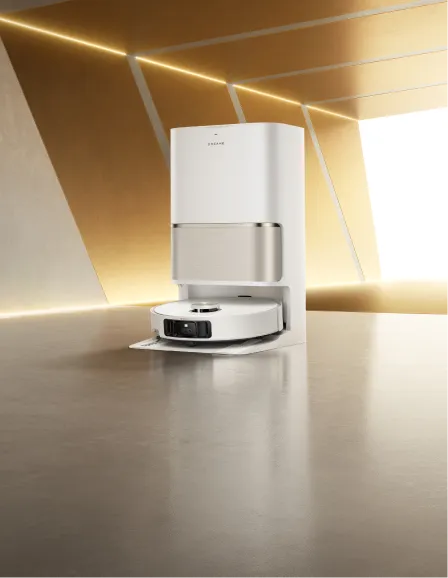
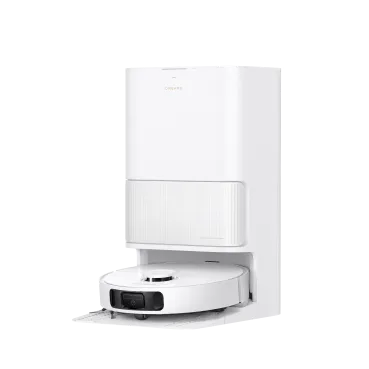
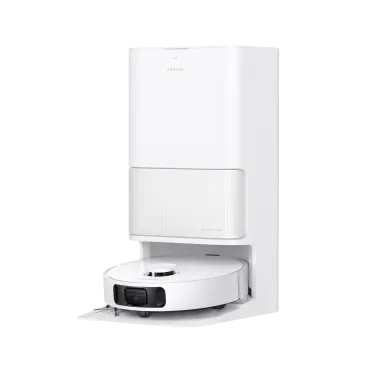
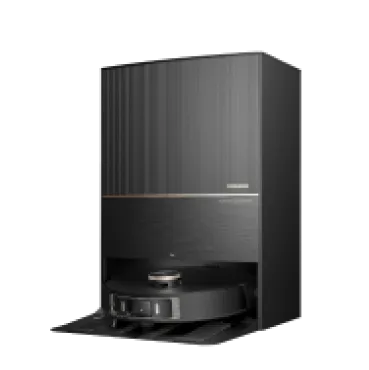
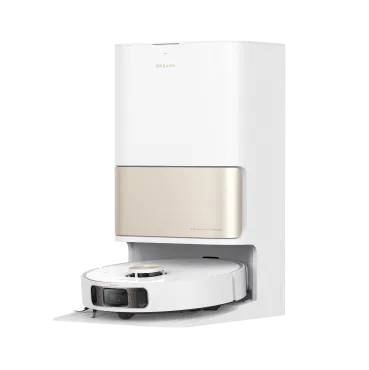
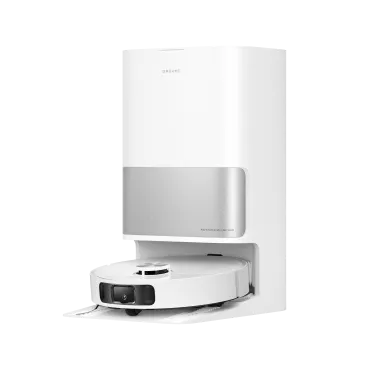
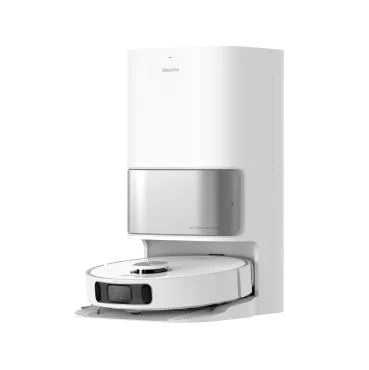
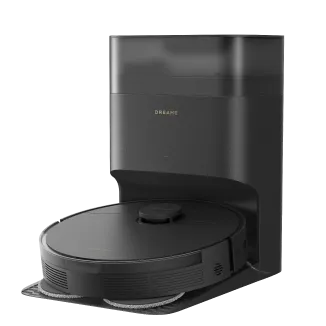
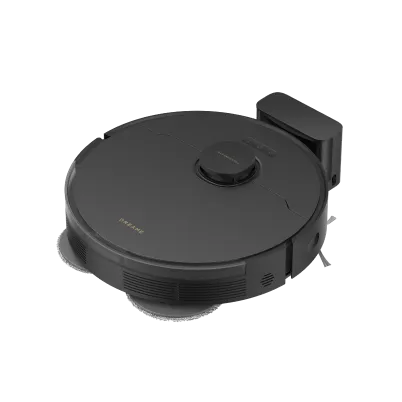
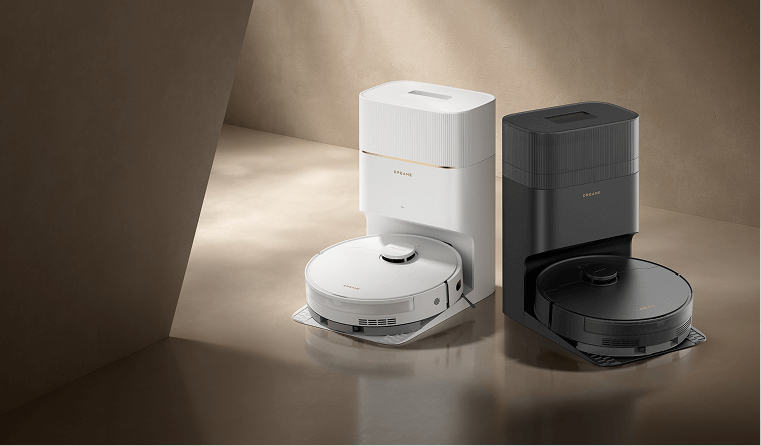
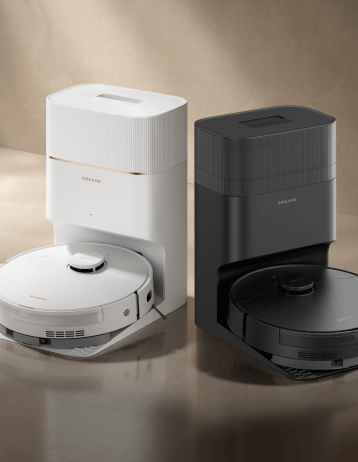
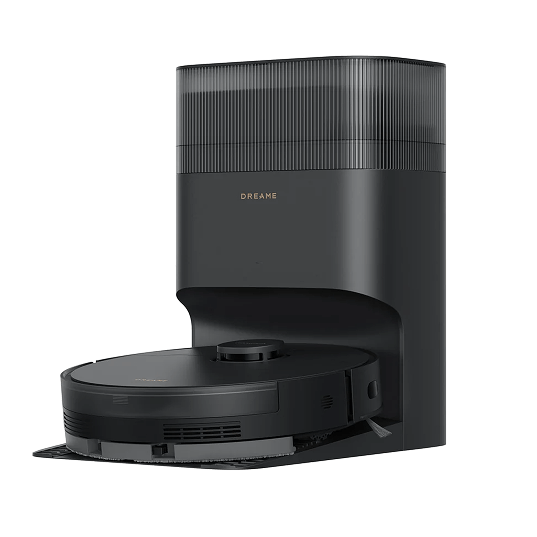
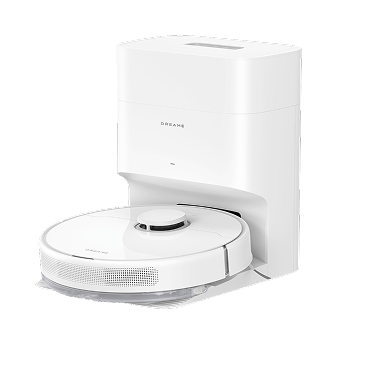
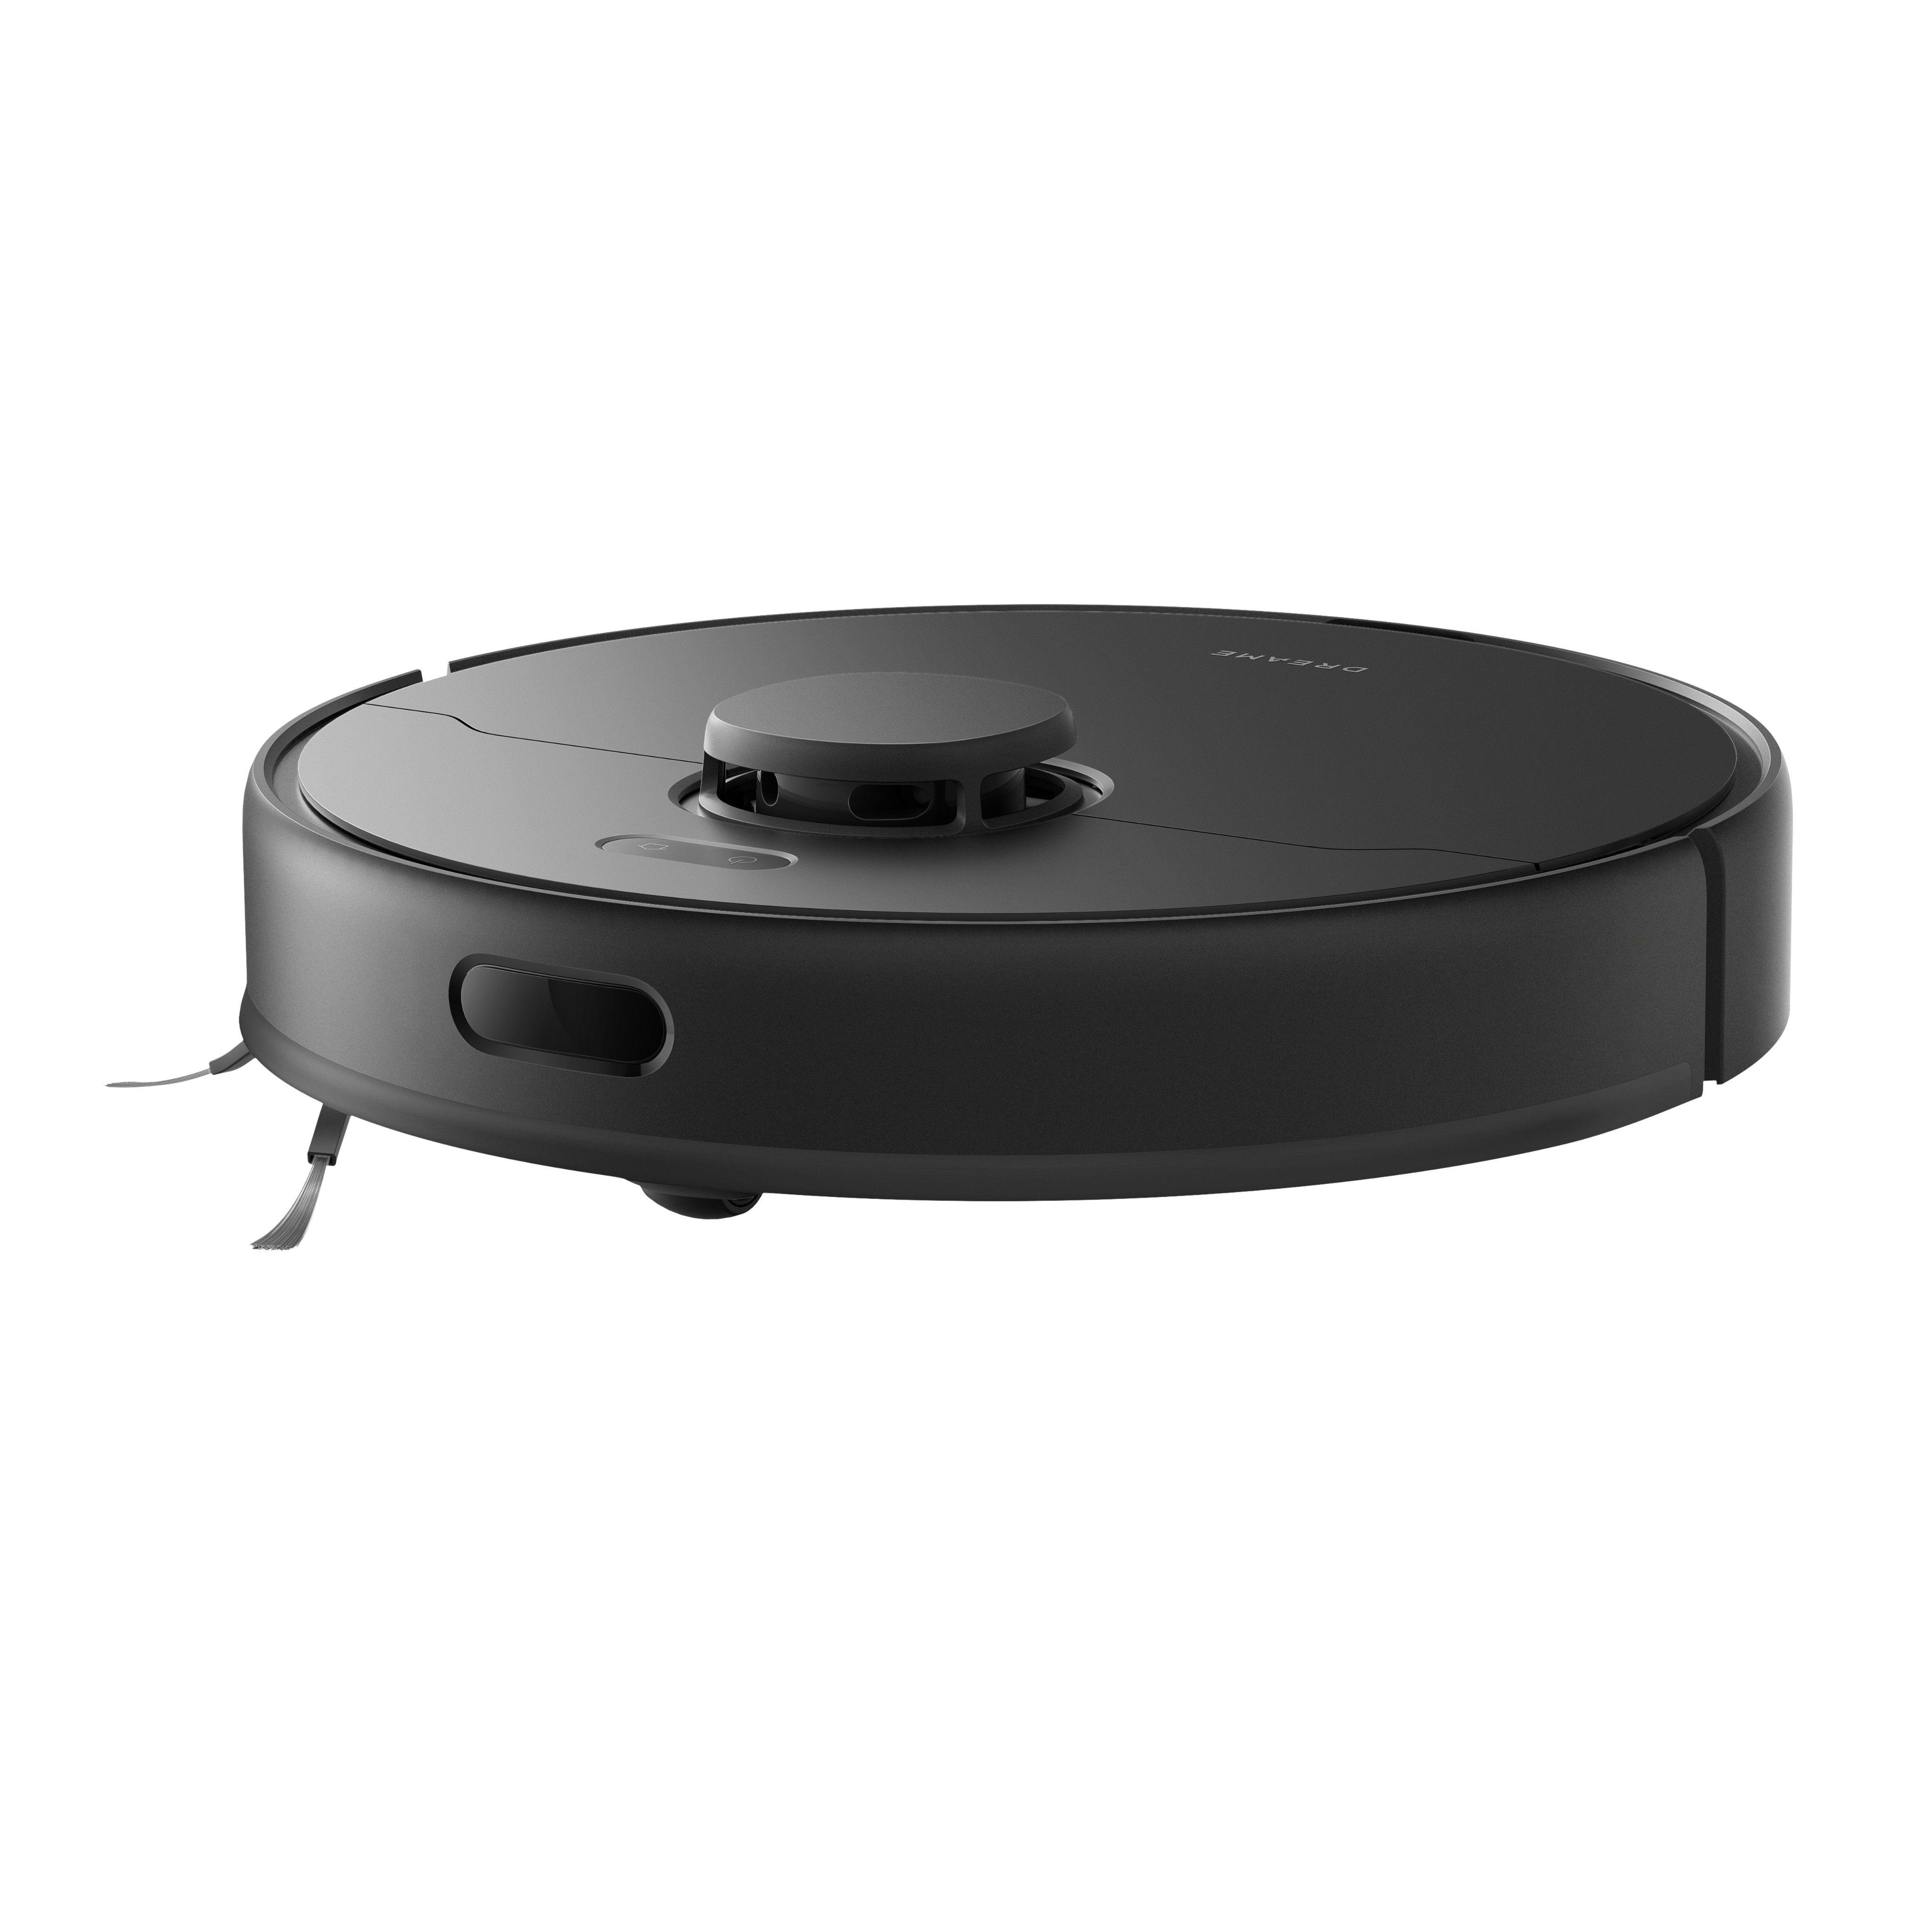
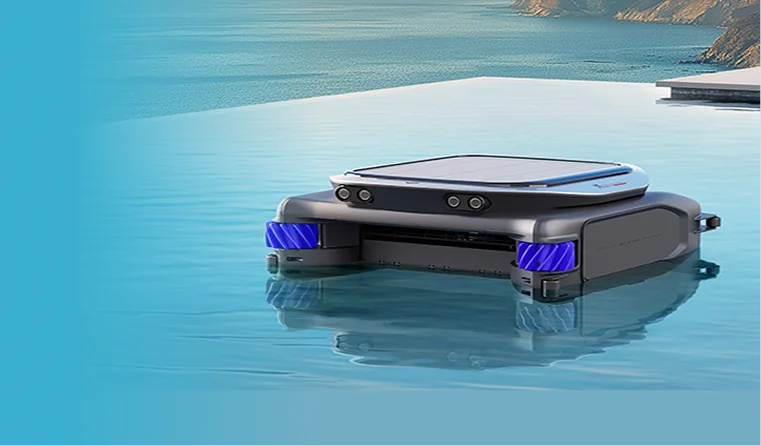
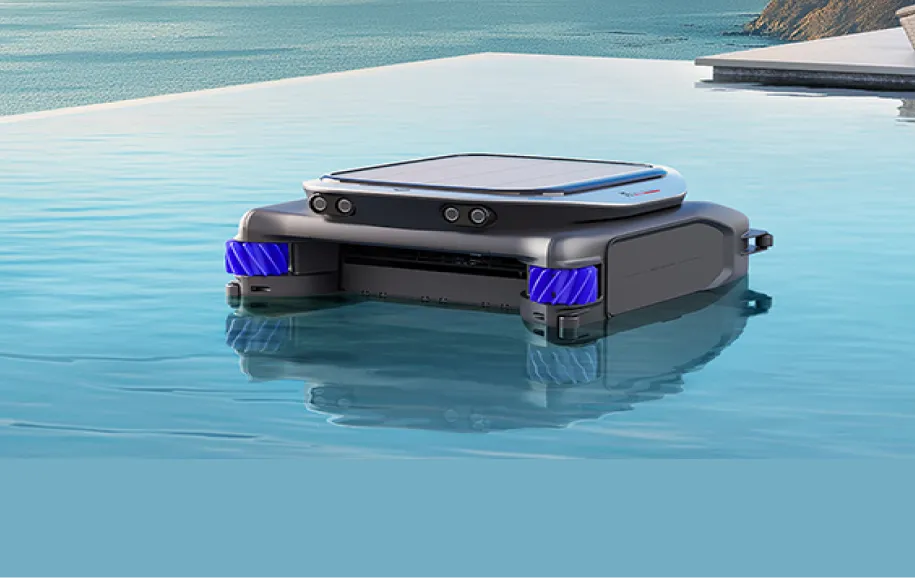
 Robot Vacuums Robot vacuums offer advanced navigation, self-emptying systems, and hands-free cleaning that adapts to any home. Whether you live in a studio or a multi-level house, there’s a match. 
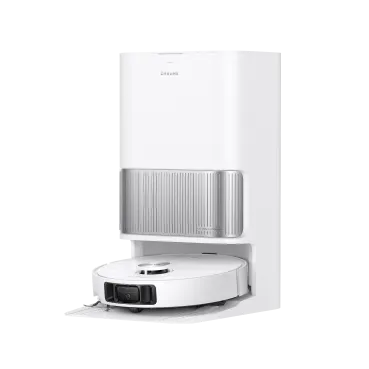
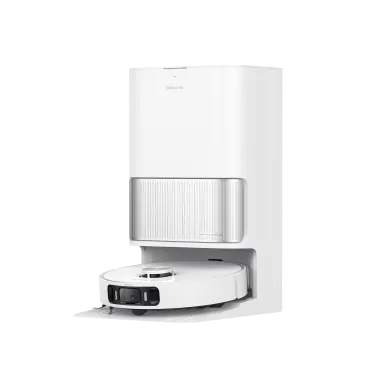
X50 Ultra: Dreame’s top-tier robot vacuum. It features powerful suction, a soft rubber brush for precision, and a self-emptying dustbin. Ideal for homes with pets and lots of floor traffic. L50 Ultra: Known for its slim dock and multi-floor mapping, the L50 Ultra is perfect for apartments and tight spaces. It transitions easily between surfaces and stores away neatly. L40 Ultra: A versatile option with strong suction, intuitive app control, and quiet operation. It’s great for busy households that want daily, low-fuss cleaning. D20 Plus: Compact but effective, this model is perfect for smaller homes or those new to robot vacuums. It handles daily debris while remaining budget-friendly. Each robot model cuts down on manual vacuuming, mapping your space and cleaning on schedule so your floors stay spotless with minimal effort.
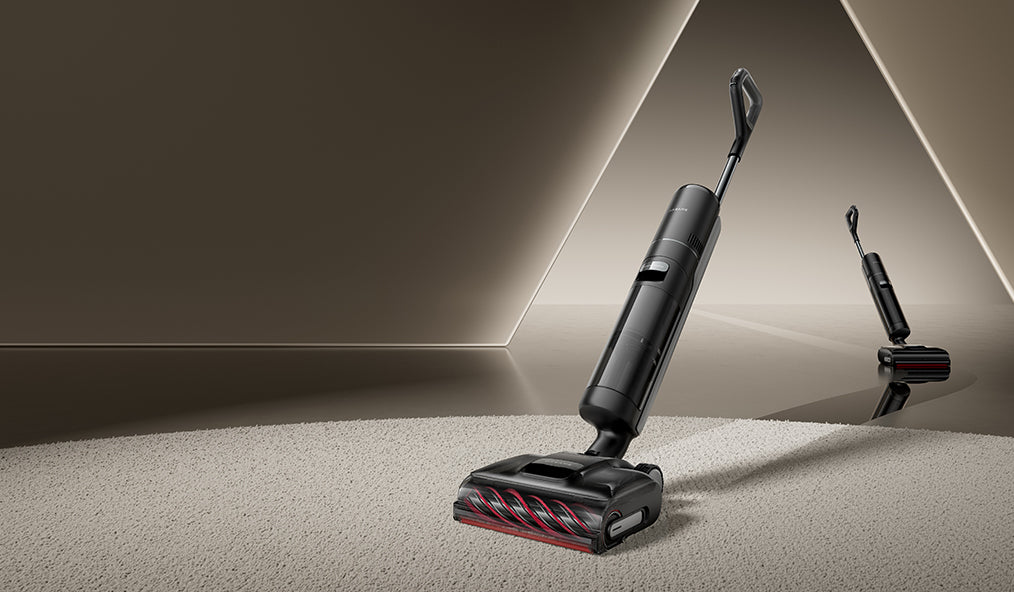
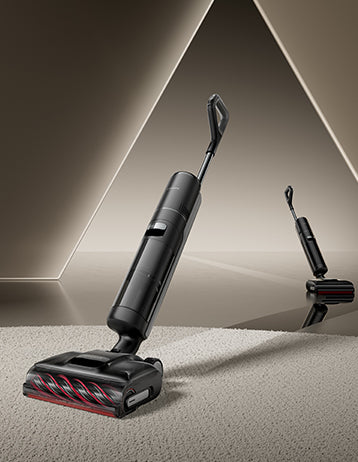
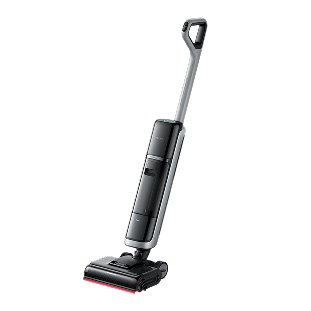
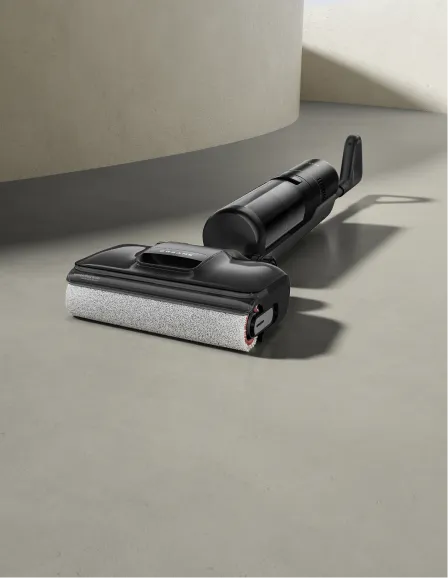
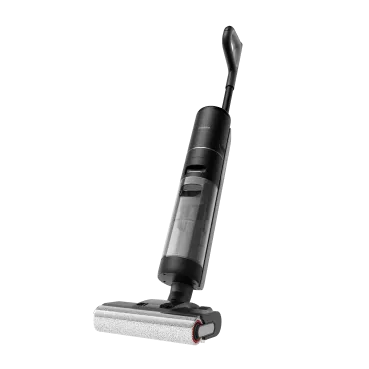
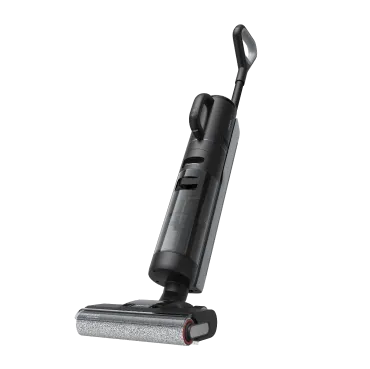
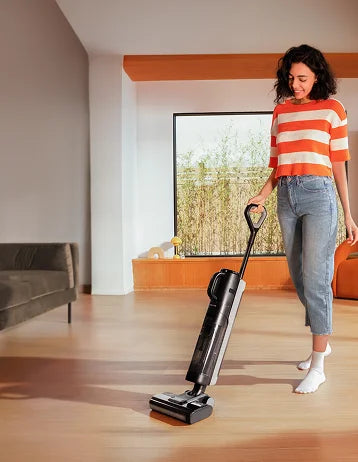
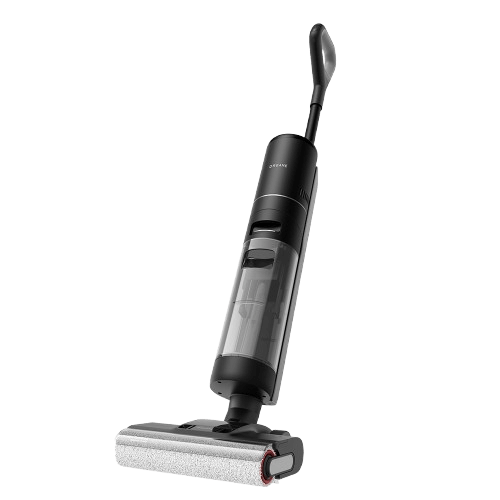
 Wet Dry Vacuums For sticky messes, spills, and deep cleaning, wet dry vacuums offer a powerful solution that goes beyond dust pickup. H15 ProHeat: A premium option with a heated brush roll that lifts dried-on spills while mopping and vacuuming in one go. It also features automatic self-cleaning and drying, reducing odor and mold risk. H14 Pro: Slightly more compact, the H14 Pro still delivers strong suction, dual water tanks, and smart dirt detection. It’s ideal for high-traffic areas and kitchens. For a broader look at the cleaning lineup, explore Dreame’s complete Vacuum & Floor Care Collection and discover models tailored to every home size and cleaning style. What to Do With Old Vacuums Before tossing your old vacuum in the trash, consider more sustainable options: Donate or Recycle: Many organizations accept working appliances for donation. Dreame’s guide on how to donate a vacuum cleaner explains where to drop off or schedule pick‑ups. Trade‑In Programs: Some retailers offer trade‑in credits when you upgrade to a new model. Check local stores or manufacturer promotions. Repair and Repurpose: If the motor works, your old vacuum could be used in a garage or workshop for sawdust and small debris. Responsible disposal reduces waste and helps others benefit from a machine you no longer need. FAQ How long should a vacuum last? Most vacuums last around 6 to 8 years, though high-quality ones can last longer with proper care. If your machine still performs well and parts are available, it may not need replacing yet. Is it cheaper to repair or replace? If repairs are minor and your vacuum is under 5 years old, fix it. But if the motor fails or repairs cost more than half the price of a new vacuum, replacement makes more sense. Which is better for pets, robot vacuum or wet dry vacuum? Use both: robot vacuums handle daily pet hair pickup effortlessly. Wet dry vacuums are better for muddy paw prints and spills. Should I replace my vacuum if it doesn’t have a HEPA filter? If allergies or pets are an issue, upgrading to HEPA filtration helps trap fine dust and allergens. If your current vacuum allows, you might only need to upgrade the filter—not the whole machine. Conclusion: When Is The Right Time to Replace Your Vacuum? Choosing when to replace a vacuum isn’t just about age. It’s about performance and lifestyle. If your machine is older than eight years, struggles with suction, or emits odd smells, it may be time for an upgrade. Replacing parts can help, but if repairs are frequent or expensive, a new vacuum is a better investment. Ready for a smarter clean? Explore Dreame’s robot and wet dry vacuums, pair with the Dreamhome app, and let your floors take care of themselves—so you don’t have to.
View more
How Often Should You Mop Your Floors?

How Often Should You Mop Your Floors?

Sticky floors after you’ve just mopped can feel maddening, like the effort isn’t paying off. The fix isn’t more scrubbing, it’s dialing in the right cadence and method for your home. In this guide, we’ll help you determine how often to mop and how to mop better. In this guide, you will learn key factors that help you determine the frequency of mopping, such as how often you should mop your floors, and practical mopping tips that make your mopping routine more efficient. Why Mopping Matters When we talk about mopping, it's not just for cosmetic purposes. Regular mopping not only maintains the hygiene of your home, safeguarding your health, but also enhances indoor air quality and extends the life of your flooring. According to guidance from the CDC, cleaning with soap and water effectively removes soil, dust, allergens, and most germs from surfaces. This means you don’t always have to disinfect your floors, unless there are specific health risks or bodily fluids present. Understanding these benefits can motivate you to maintain a regular mopping routine for a healthier and more appealing home.   Pro-tip Keep surfaces clean and dry to significantly reduce indoor allergens like dust mites, mold, and pollen. This is the core strategy for controlling dust and moisture, which helps minimize common allergy triggers in your home.   What Affects Your Mopping Frequency? Every home is a one-off. Your floor type and your household’s habits create a mix no single “mopping cadence” can match. And “looks clean” isn’t the finish line: residue, allergens, and grit can linger even when the surface shines. To personalize how often you mop for your space, consider the factors below. They’ll help you set the right schedule for your floors and your routine: Floor Type and Material Moisture tolerance is different for each floor. For example, stone or tile floors are resilient, and you need to clean them differently. If you have laminated or hardwood floors, they are moisture-sensitive, which can lead to warping. Check your manufacturer’s guidance rules to know more. Your Lifestyle Do you have pets or toddlers? You might just love cooking at home. Or you have a shoe-on household. Such factors are drivers for higher frequency mopping. When you spill something, or it might just happen during cooking, you need to respond quickly to food or oil spills. You need a combination of vacuum and mop for such a lifestyle. How Busy Your Household Is Do you know about the “high-touch, high-soil” rule of thumb? You can refer to it as one of the mopping tips. Places that have high foot traffic, like kitchens, entryways, and bathrooms, should be mopped weekly or more frequently. Low-traffic rooms, such as guest rooms, can be stretched to biweekly mopping or even monthly. Season & Climate The seasons can also impact how often you need to mop. Wet, rainy, or snowy seasons can track in a lot more mud and moisture, increasing the need for more frequent cleaning. Conversely, dry seasons can lead to more dust buildup. While you might not need to wet mop more, more frequent dry mopping or dusting can help keep floors clean. Indoor Air Quality and Ventilation Regular mopping is an essential part of keeping indoor air quality high by reducing allergens like dust and pet dander that settle on floors. This is especially important for people with sensitivities. Pairing regular cleaning with good ventilation and using air purifiers can help reduce asthma symptoms and maintain a healthier home environment. How Often to Mop (By Your Floor Type) Your home, and your floors, aren’t like anyone else’s. Instead of sending you on a hunt for one-size-fits-all answers, we’ve pulled the essentials into a quick-look table so you can see the right mopping frequency for each surface at a glance. Floor type Recommended cadence Notes Hardwood (sealed/site-finished) High-traffic: weekly; elsewhere: every 2–4 weeks Damp (well-wrung) microfiber only; avoid steam on wood. Laminate Every 2–3 weeks or as needed Minimal moisture; dry immediately; avoid steam. Tile & stone Weekly in kitchens/baths Add grout scrubs monthly–quarterly depending on soil. Vinyl / LVT Weekly light mop Use pH-neutral cleaner to protect the wear layer. Linoleum Weekly in high-traffic rooms Gentle solution, thorough drying to prevent dulling. Concrete / sealed utility or garage Monthly or after visible soils Prefer pH-neutral cleaner to avoid etching. Important: You should adjust mopping practices based on dust level and the manufacturer’s care guides for your floor. Room-by-Room Planner Room Starting point Kitchen Weekly (+ spot mops as needed) Entry / Mudroom Weekly Bathrooms Weekly Living / Family areas Bi-weekly Bedrooms / Guest rooms Bi-weekly → monthly   Pro-tip Nudge frequency up during pollen/rainy seasons and down during low-use weeks. Pick one “quick-win” zone (often the kitchen) for a 5-minute light mop every other day.   8 Signs It’s Time to Mop  Here are signs that will help you determine that it is time for you to mop. These signs don’t just stay limited to floors, but your health. Check against this list by having a paper towel test: You feel sticky or tacky underfoot when you walk A dull or filmy sheen Visible footprints or smudges Visible dirt or grit that scratches the surface Dirty grout Accumulated pet hairs or lint Unpleasant odor Allergy flare-ups because of dirt or pollen Paper towel test for floor: Wipe a small patch of floor with a dry paper towel. If gray film transfers onto a paper towel, then it is time to mop. What you should do is take a paper towel and perform this easy test in your kitchen. See how much dirt is in there. Then set a reminder for a quick mop tomorrow if the test fails. Try These Advanced Mopping Techniques Once you've established your regular mopping schedule, consider adding a monthly or quarterly "detailed mop" day. This is when you can move lighter furniture, pay extra attention to edges and corners, and focus on deep-cleaning grout lines. By keeping up with consistent, daily or weekly light mopping, these deeper cleaning sessions will be much faster and less of a chore. Tired of calculating how often to mop and doing all the work yourself? An intelligent robot vacuum and mop can take the guesswork and effort out of your cleaning routine. These devices can reach more places than a manual mop and manage moisture intelligently, which means fewer missed spots and safer care for both carpets and wood-adjacent areas. An autonomous tool, like the Dreame X50 Ultra or Aqua10 Ultra Roller, can easily handle these varied schedules for you. Their ability to vacuum and mop in one pass, along with intelligent dirt detection, allows you to set them to handle all your daily or weekly tasks without any manual effort. FAQs of the Floor Maintenance Routine How often should I mop if I have pets or toddlers? Plan weekly mops in high-use rooms (kitchen, entry, bath) and biweekly elsewhere—plus spot mops for drips/accidents. Automating daily dry pickup reduces grime between sessions. Should I vacuum before I mop? Yes. Dry pickup first means your mop solution stays cleaner and leaves less film. Are steam mops safe for wood? In general, no. Industry groups or care professionals advise against steam on hardwood because heat and moisture can damage the finish and wood. Do microfiber mops really make a difference? Yes—microfiber lifts fine dust with less water, which is better for moisture-sensitive floors and reduces streaking. How can I reduce the frequency of mopping? Capture grit at the door (mats), run a daily robot vacuum, wipe kitchen drips ASAP, and keep humidity balanced. Conclusion There is no magic number for how often you should mop. The perfect frequency is a personalized plan based on your unique floors, family, and lifestyle—not your neighbor’s. Now that you understand the key factors, you can build a smart mopping routine that goes beyond surface-level shine. Staying on top of it is the key to managing the invisible dust, allergens, and grime, creating a home that is truly healthier and more enjoyable. To deal with such tasks and save you manual labor, innovations like robot vacuums and mops are designed. They let you maintain a clean, hygienic home efficiently. Take your first steps towards keeping your home clean by exploring Dreame for more resources on smart home cleaning solutions.
View more